
Matting, Framing and Displaying Fine Art Photography Prints
You decided that you wanted to have some art in your house.
You decided that you wanted to have photographic art in your house.
Maybe you even decided you wanted to become a collector of fine art photography.
So you bought a fine art photography print.
What now?
To enjoy your print in the best way for years to come you need to have it matted, framed and displayed correctly.
Use the links below to jump to the specific sections after the break:
Matting and Framing fine art photography
Displaying fine art photography
Matting and Framing fine art photography
You just purchased a fine art photography print in a gallery, or at an art fair, and took it home. Or maybe you bought it online and had it just delivered. You are excited, you unwrap it, admire the quality of the print, and are enjoying the colors or the tonality of the monochrome print. And then you realize you want to display it in your home or office.
If the print came matted and framed, I assume it was professionally done and you can go directly to the next step and decide how and where to display your print. If you are not sure, however, about the quality of the mat or frame your print came with, you should have this reviewed by a professional framer who can advise if re-matting or re-framing is needed.
Sometimes, however, prints do not come framed or even matted. And your first step should be to take care of this.
Matting
Each fine art photography print should be matted and framed to protect it from dust, dirt, and light.
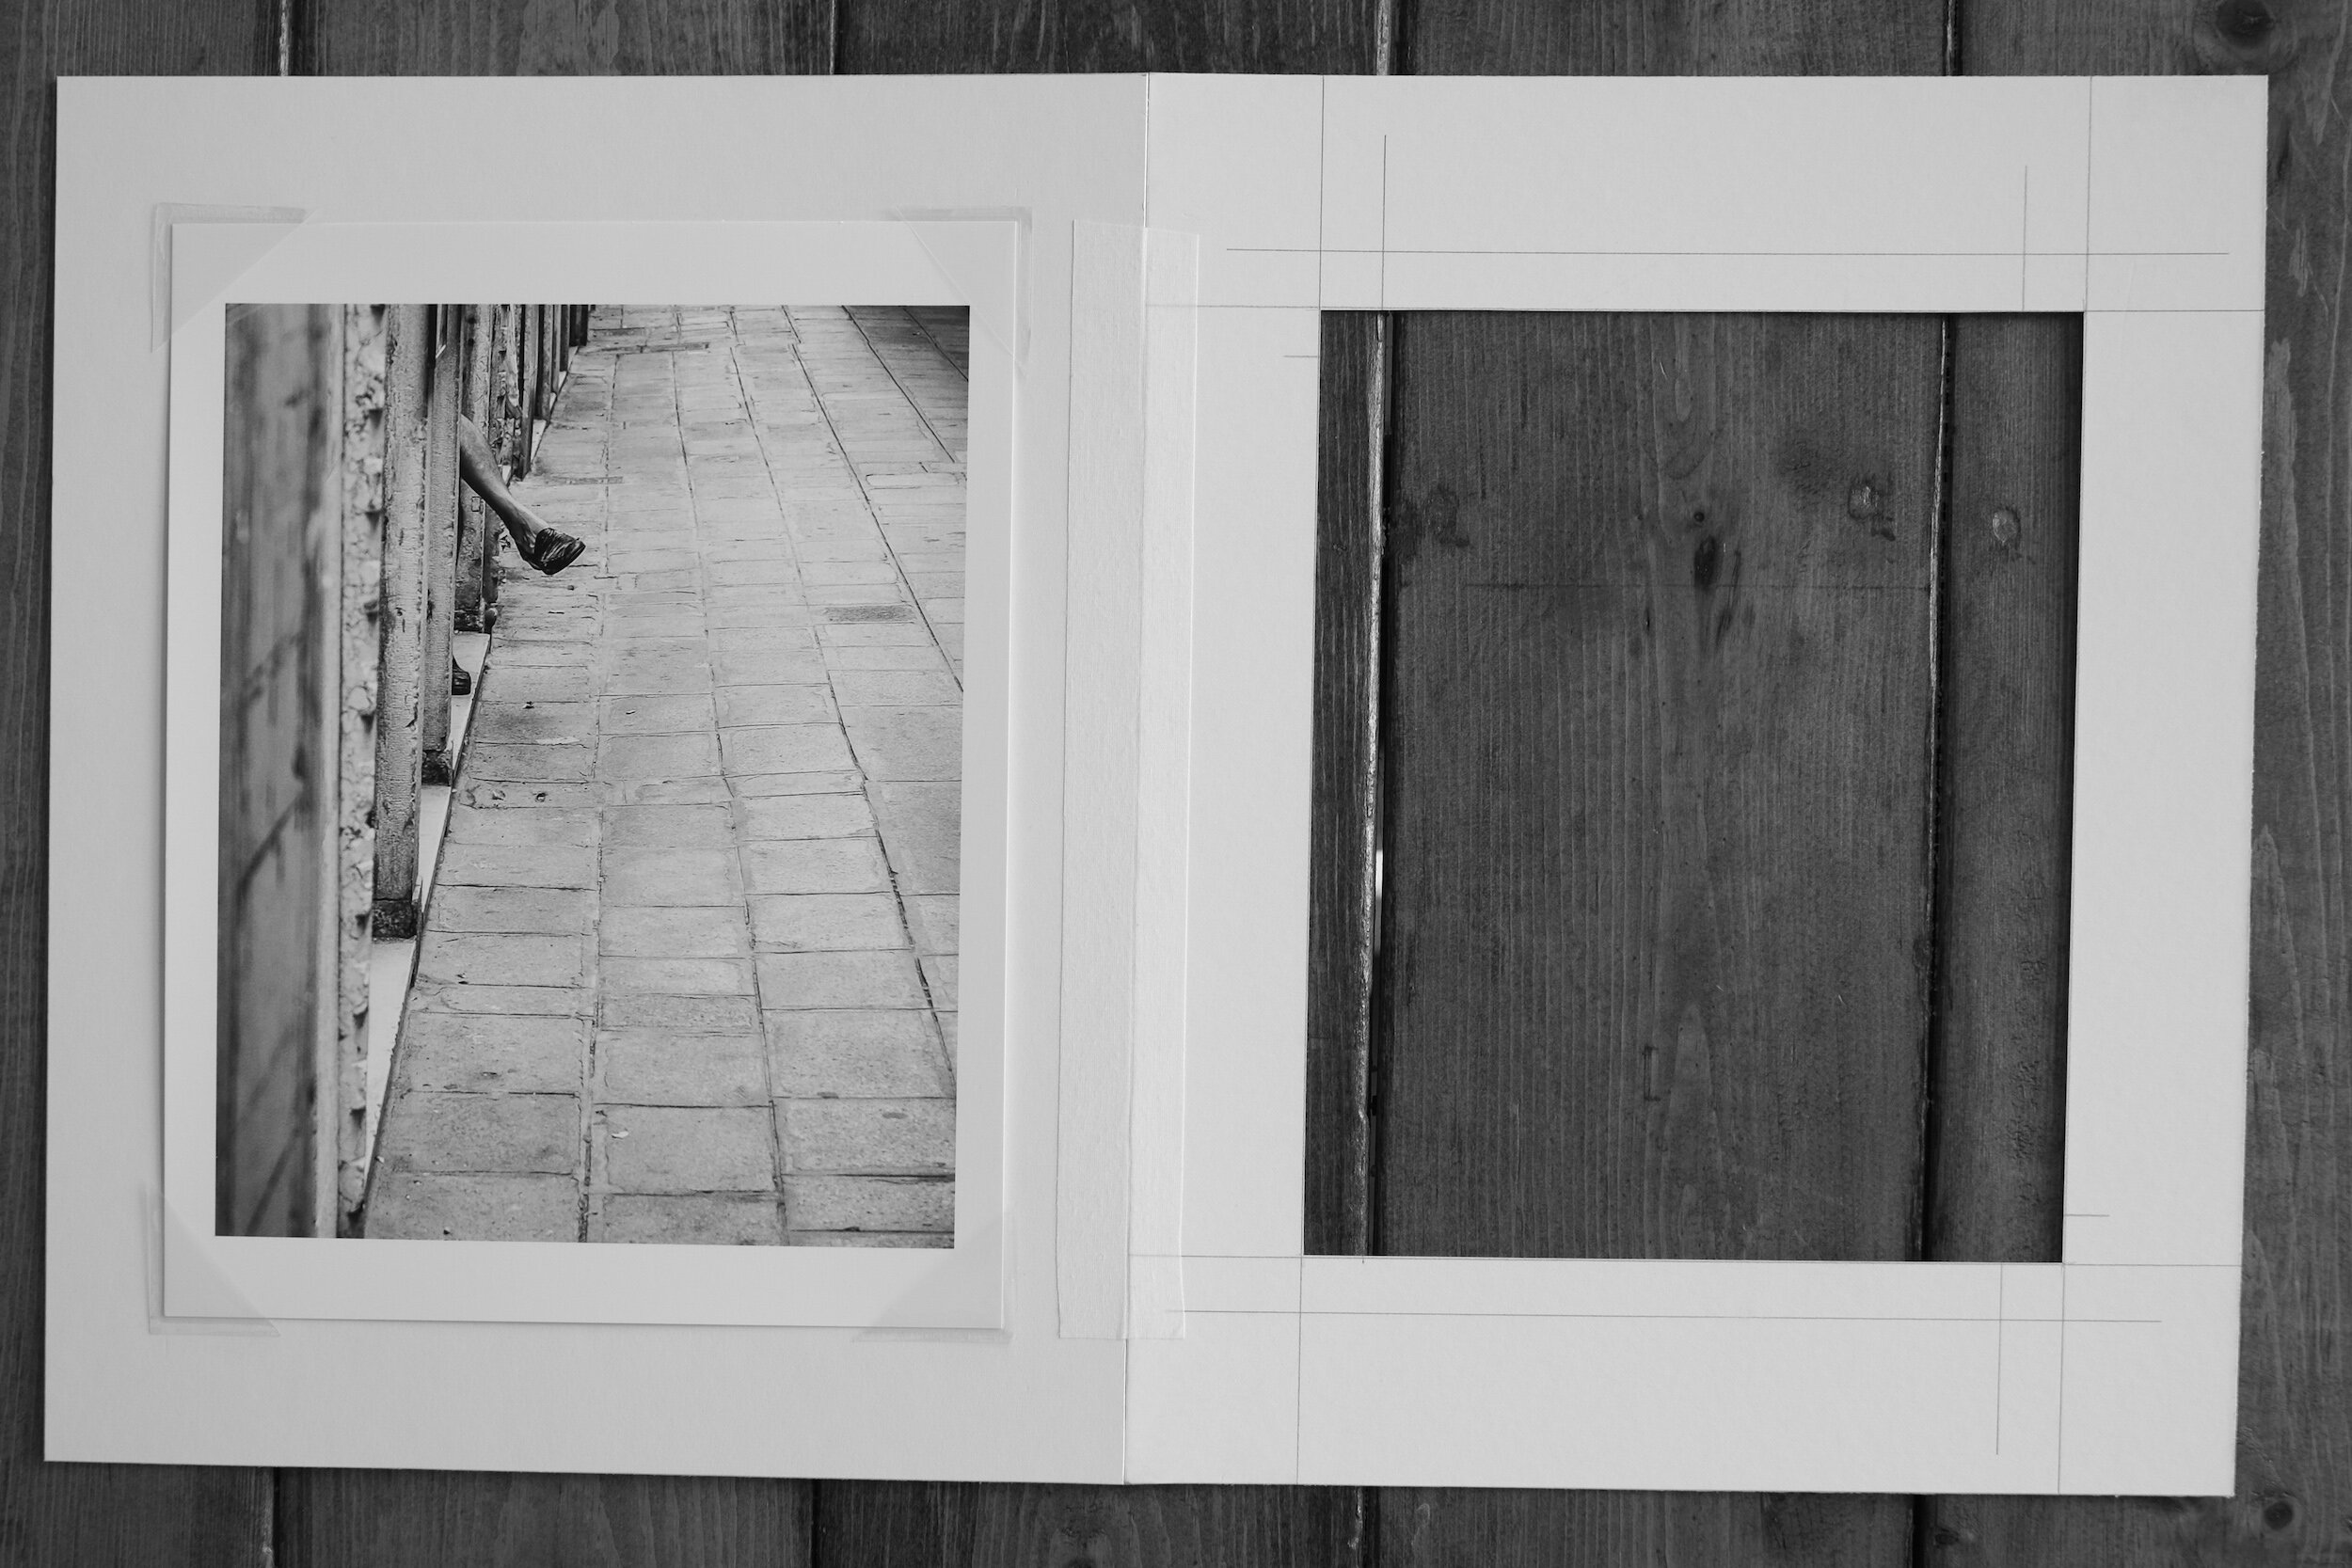
The first step in this process is matting: the print is placed between a backboard and a mat. This not only will help to display the print at its best by making it stand out from its surroundings, it also is necessary to prevent the glass of the frame touching the print.
A convenient way to take care of matting and framing is to have it done by an experienced framer. In the USA shops like Hobby Lobby, Michaels, and Frame Warehouse have framing specialists who do a great job at a reasonable price.
If you buy un-matted prints on a regular basis, or if you create your own prints, you might consider investing in a mat cutter and do it yourself. It is relatively easy and inexpensive.
Whatever option you choose, there are some things you need to be aware of.
First, you need to decide what size and color mat you want, and what size the mat border and mat window should be.
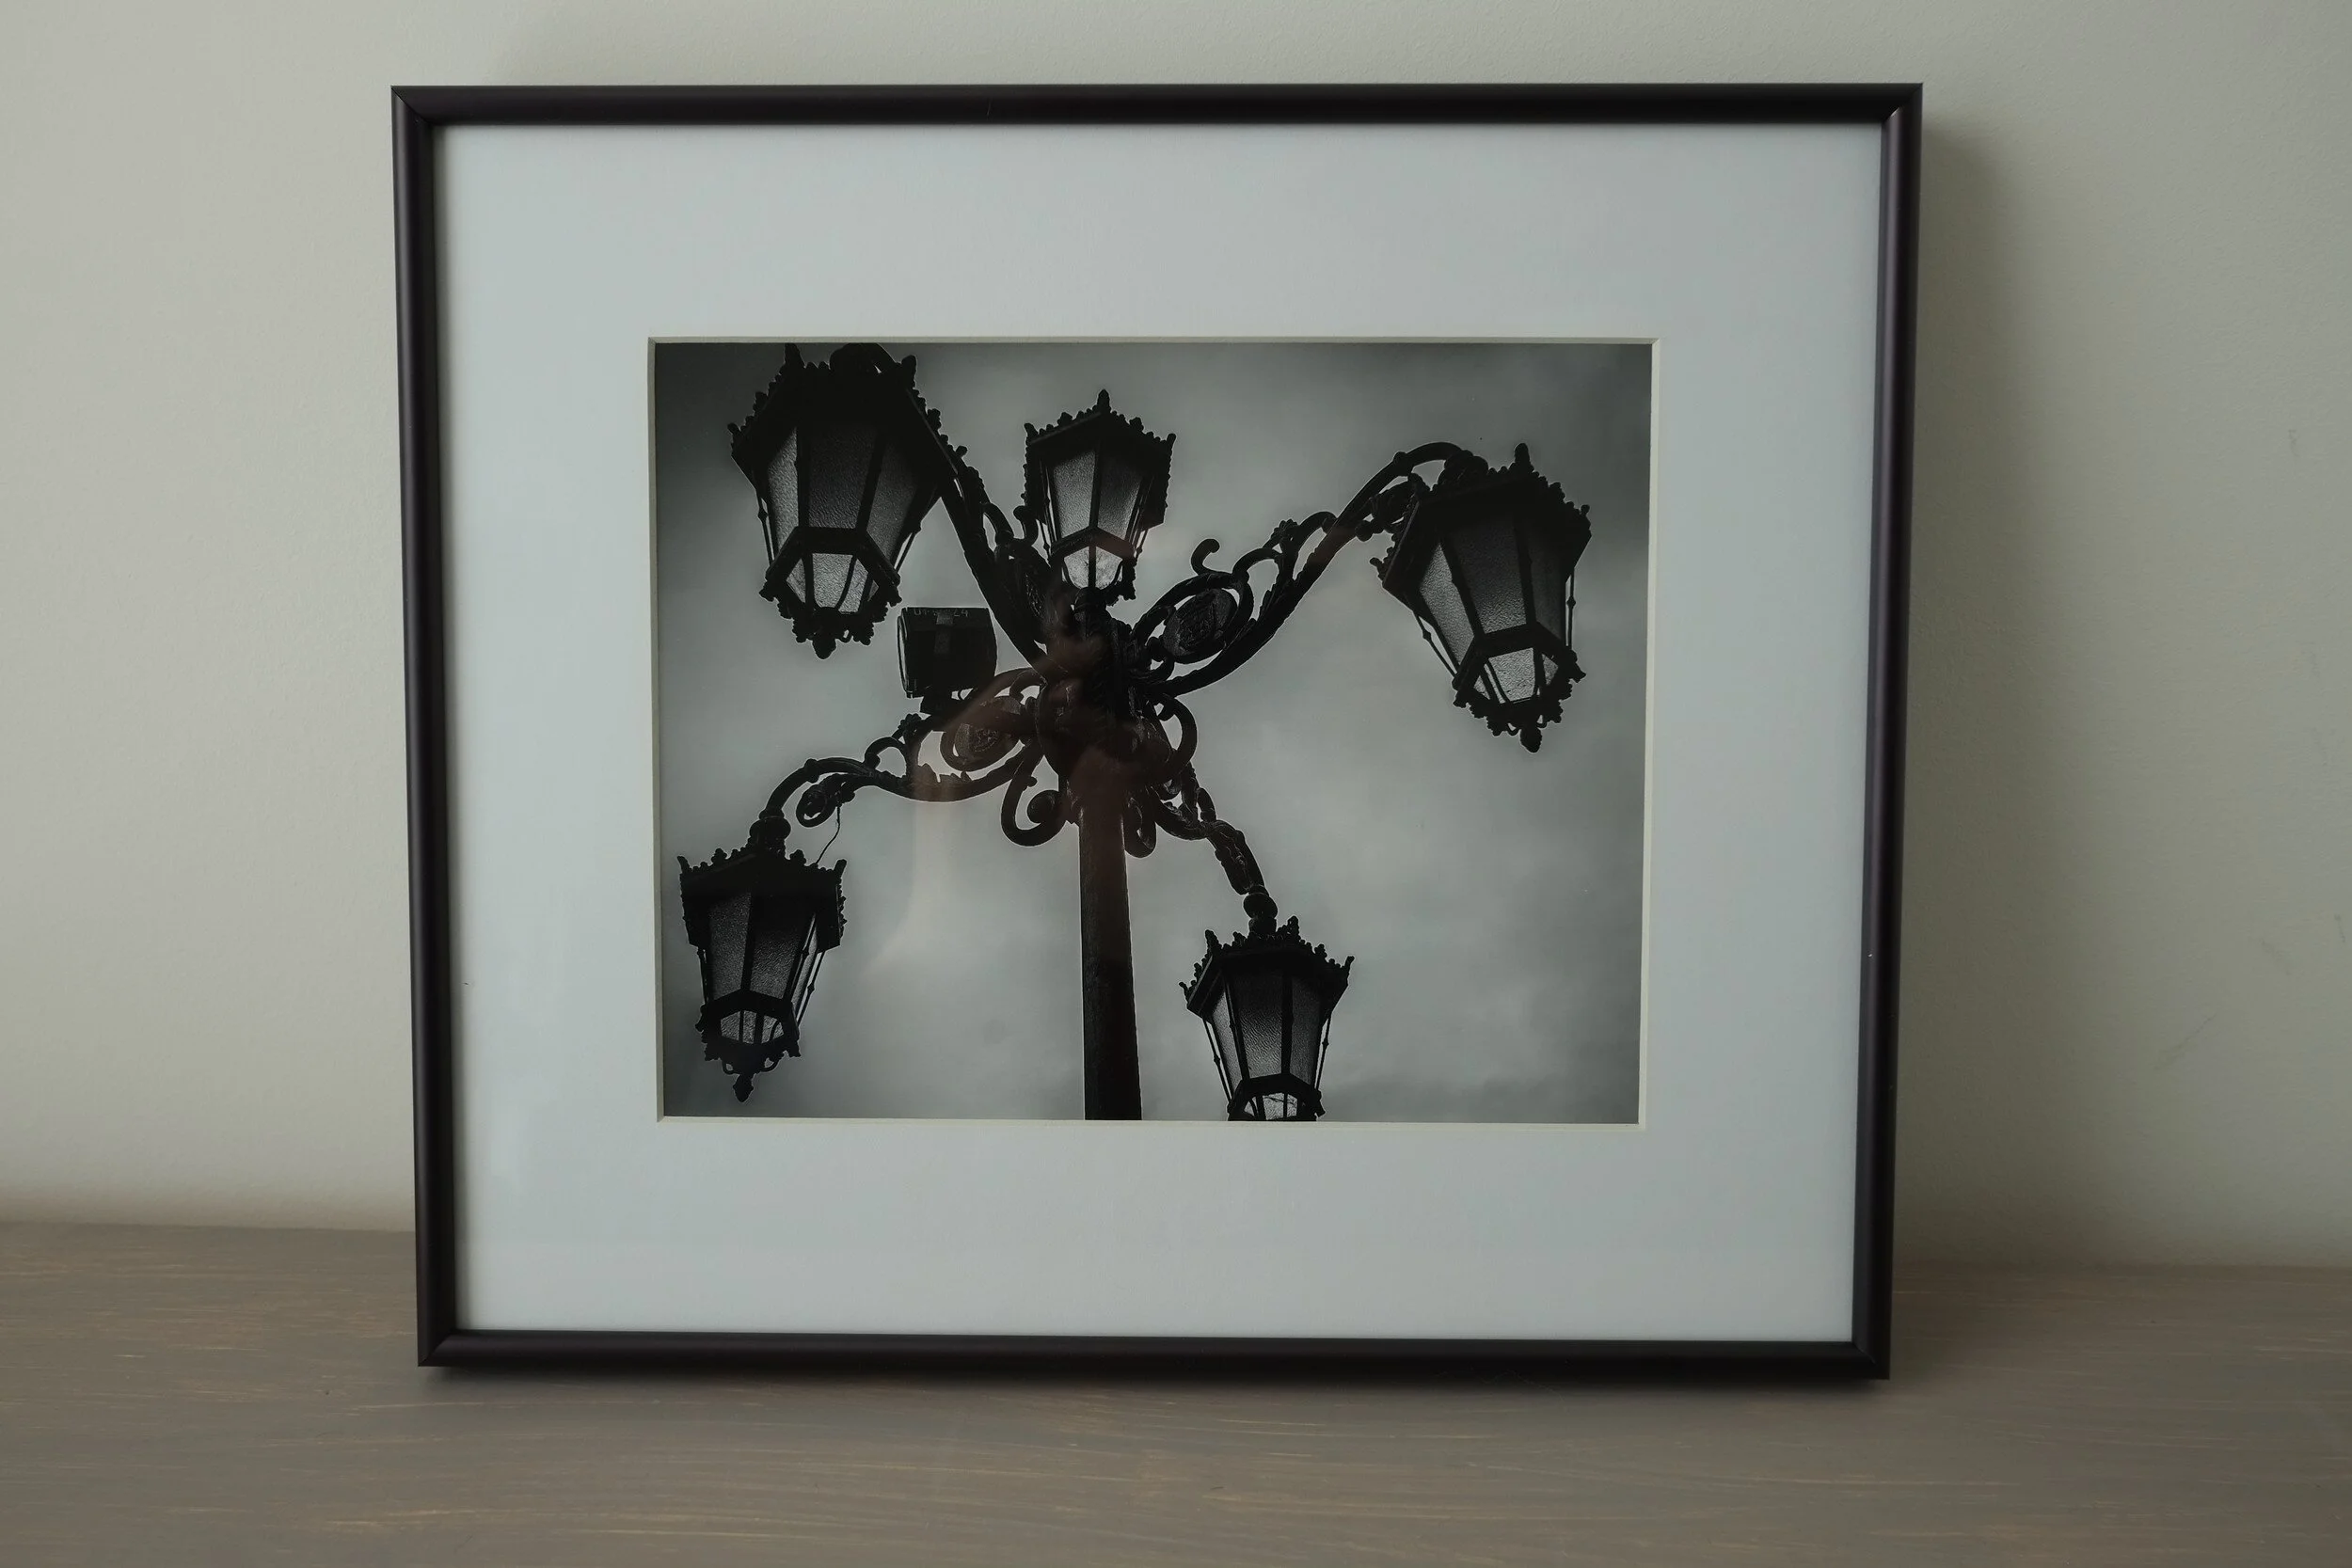
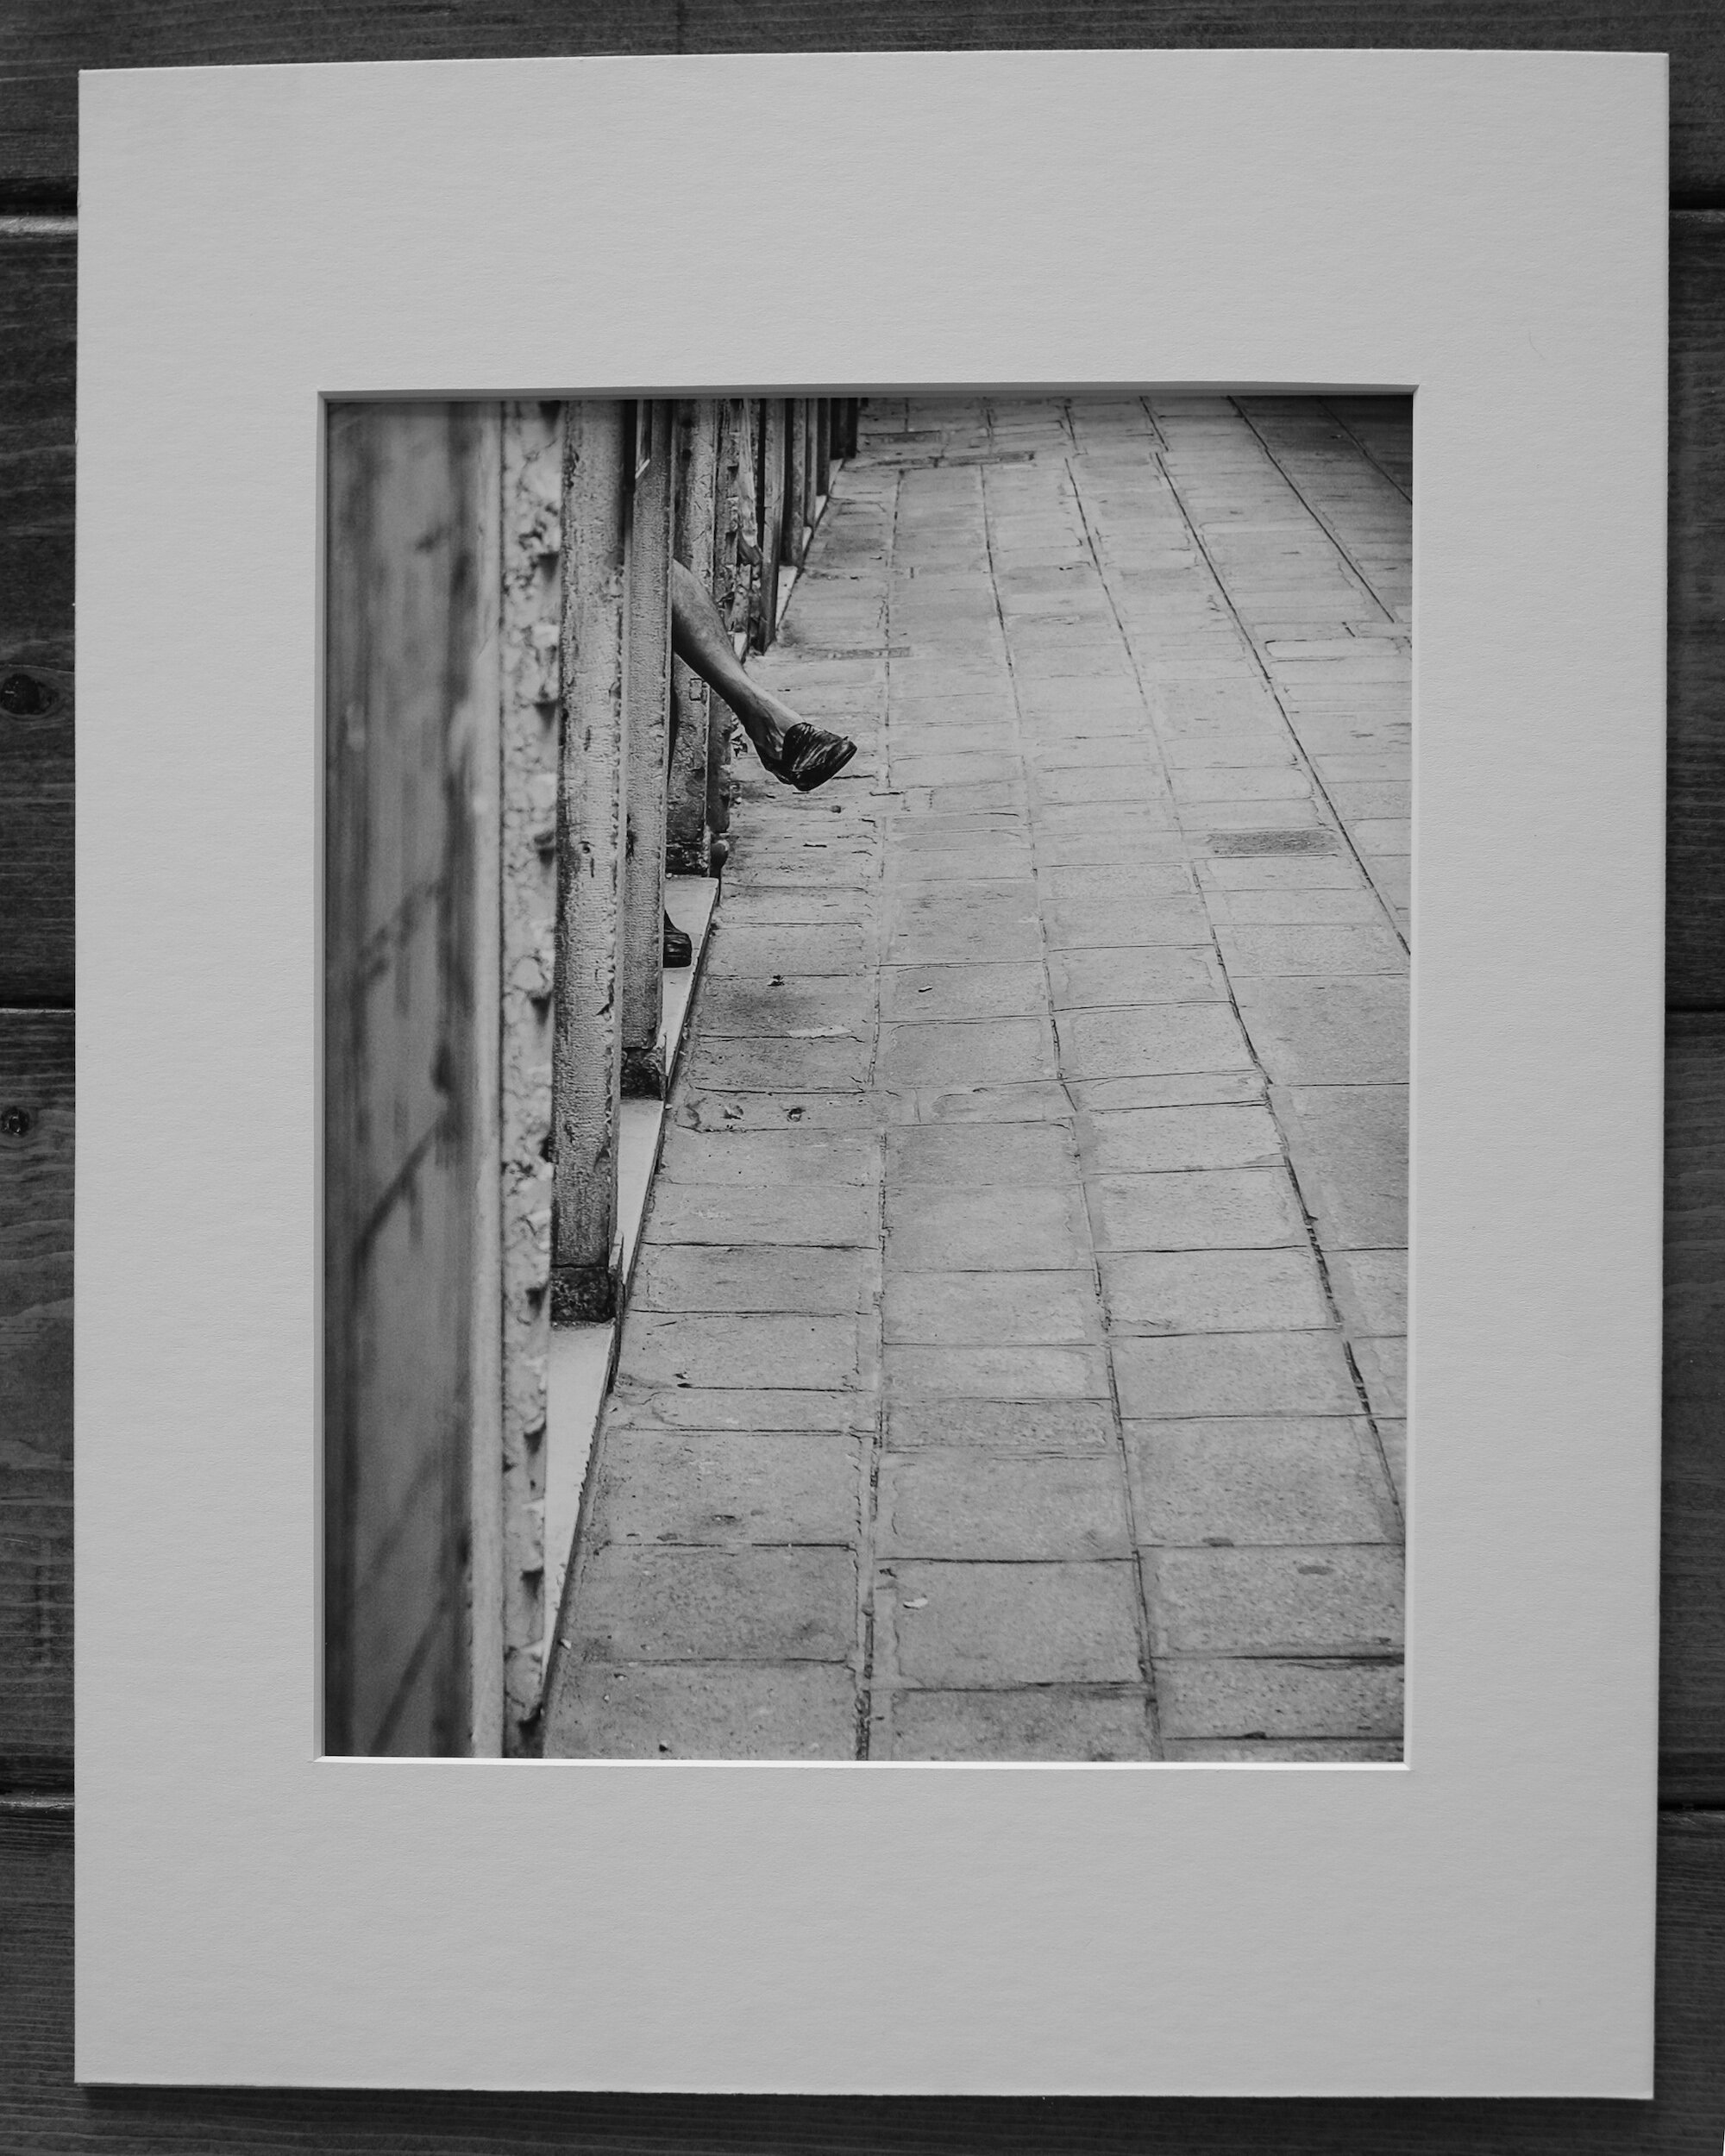
A lot of this, of course, depends on your taste. Most photographic prints are framed with a white or off-white mat because this provides a nice clean look and the least distraction from the print itself. In some cases, however, it might be appropriate to use a colored mat. Using a color, for example, that matches the color scheme of the print. Or with black-and-white images, a black mat might add drama to the overall effect. It is also possible to use a colored mat with white cutting edges or to use two mats slightly different in size to create depth to the framing. This is an area where a framing shop can advise and show different settings.

With regard to the size of the mat, you should also consider if the mat window will be exactly the size of the print, or slightly bigger. Limited edition, signed prints can have the signature and other information written under the image. It is a matter of preference if you want to show or not show these. If the image is printed on deckle-edged paper (paper with ragged or feathered edges) you might want to have the window of the mat a bit bigger on all four sides to show the paper edges.
If you choose for a mat window that matches the size of the print, you need to keep in mind that the mat window usually will be slightly smaller than the print size (1/16 to 1/8 inches on all four sides) to ensure the print will be fully enclosed by the mat.
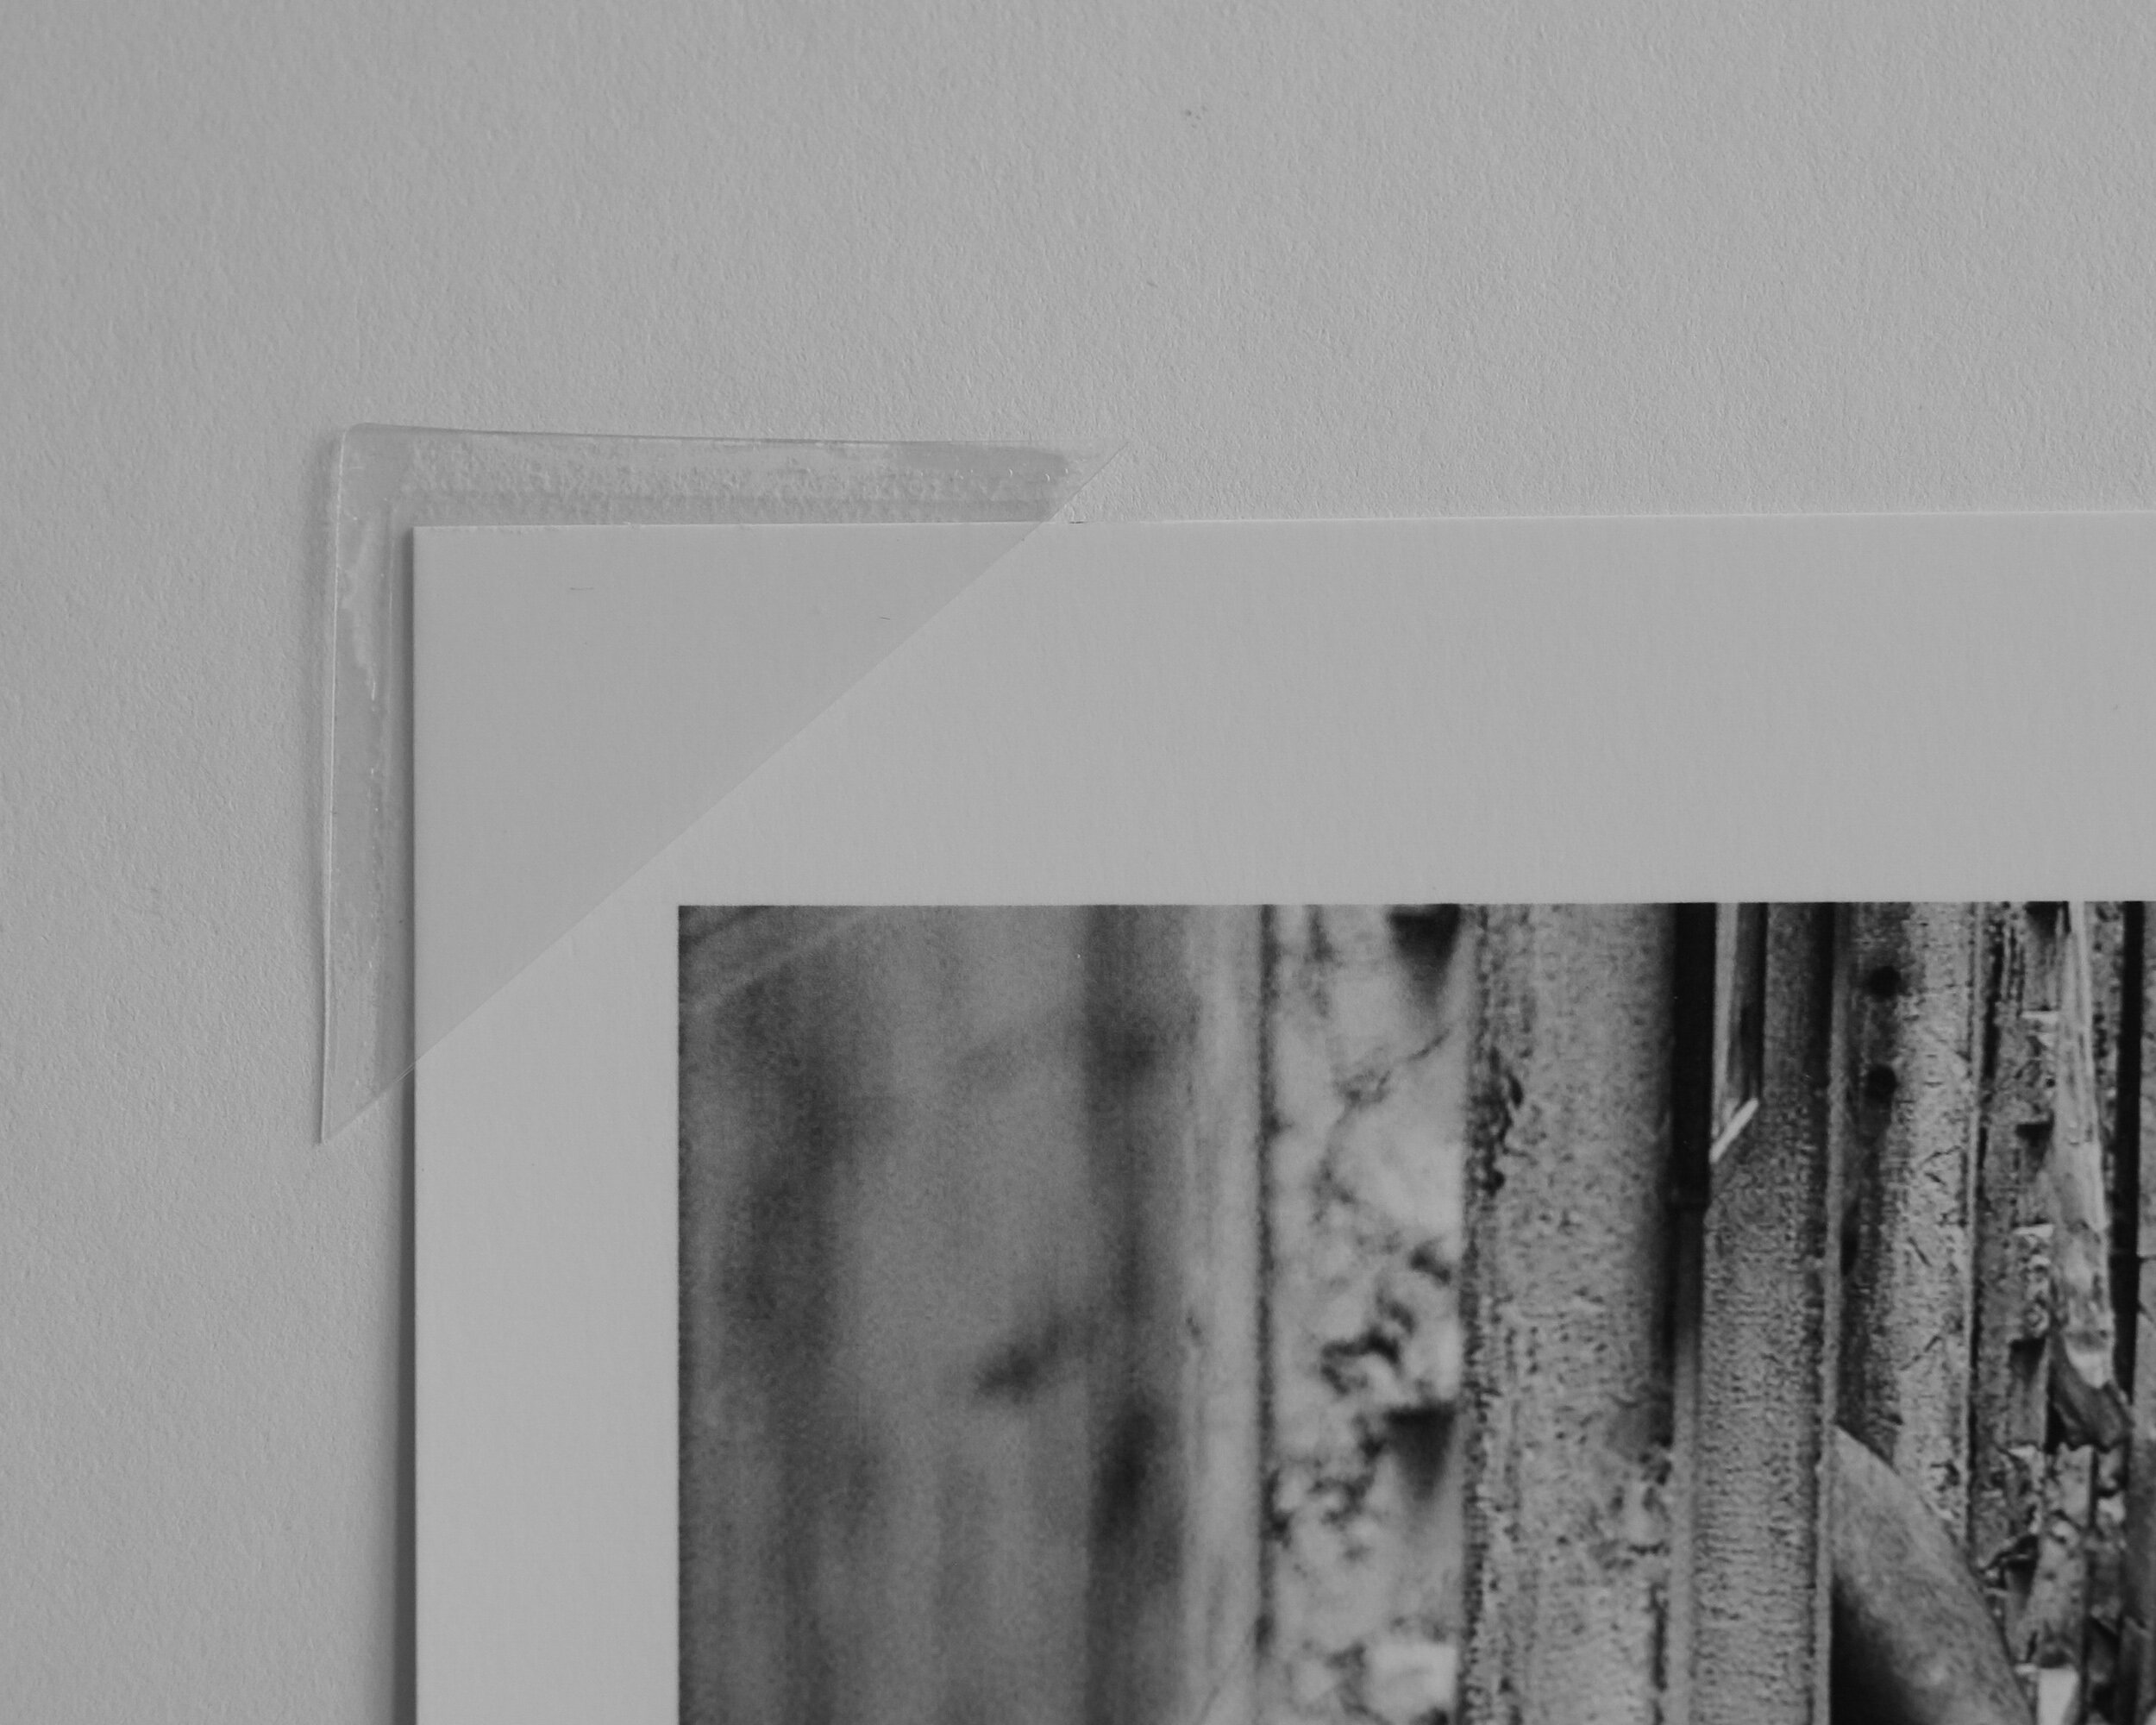
You also need to decide on how the print will be mounted to the backboard. The best way is to use photo corners. This allows the print to ‘breathe’: whatever environment you will display your prints in, and irrespective of how closed the frame is, there always will be some impact from humidity. Having the print loosely fitted with photo corners will allow it to expand and extract without creating wrinkles. If needed, the photo corners can be strengthened with mounting or hinging tape (just make sure the tape does not touch the print).
Alternatively, you can mount the print to the backboard with mounting tape. This, however, I do not recommend because you are attaching something to the back of the print that might be difficult to remove, which might impact the value of the print and at the least will make it more difficult in case you want to re-mat the print in the future.

One point of caution: whatever you do, do not dry-mount your print to the backboard!
With dry-mounting, the print is permanently fixed to the backboard. This not only can impact how the print looks (in some instances the structure of the backboard can be visible through the print); dry-mounting is not considered an archival safe way to mount prints and it definitely diminishes the value of your print.
Lastly, and this might be a no-brainer, but don’t forget to always use archival quality (acid-free) materials. The acidity of regular paper and board will impact your print in the long-term and lead to discolorations.
Framing
The next step in preparing your print for display is framing.
The frame serves two purposes. The first is to protect the print from dust, dirt, and light. The second is to display the print in the best possible manner.
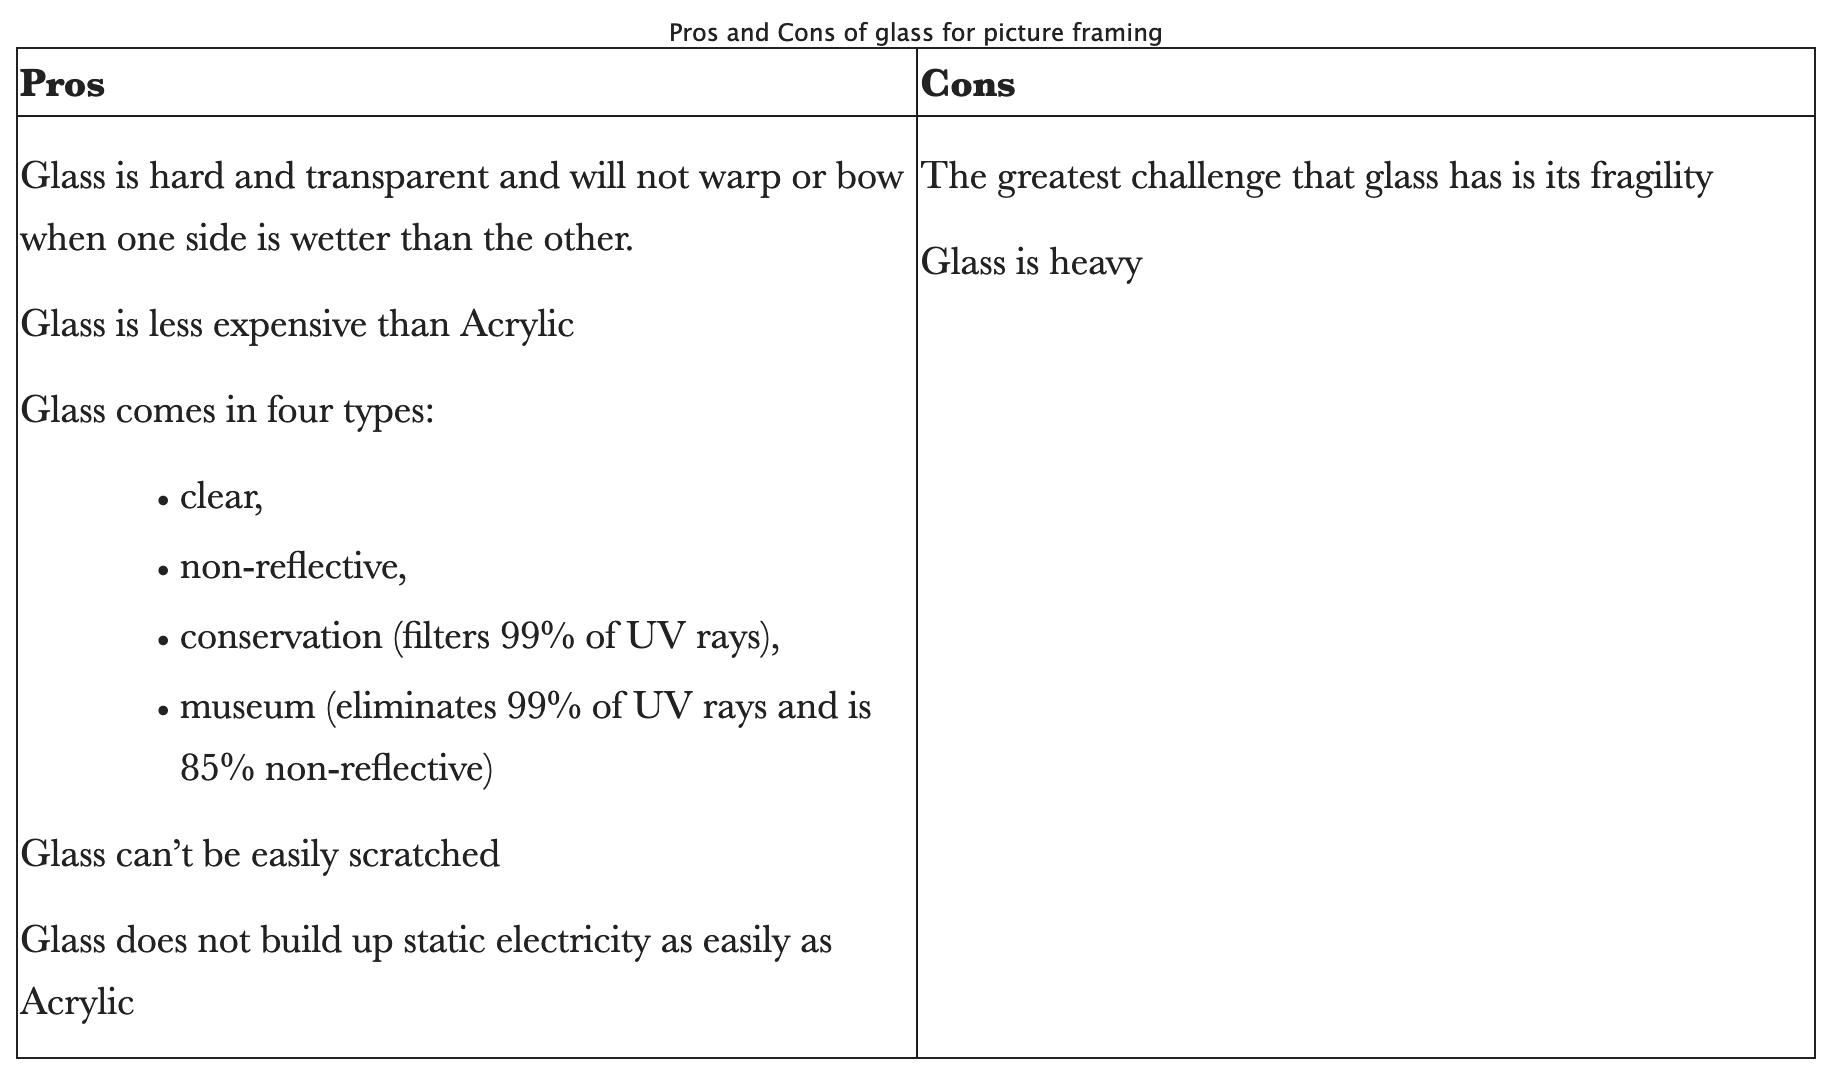
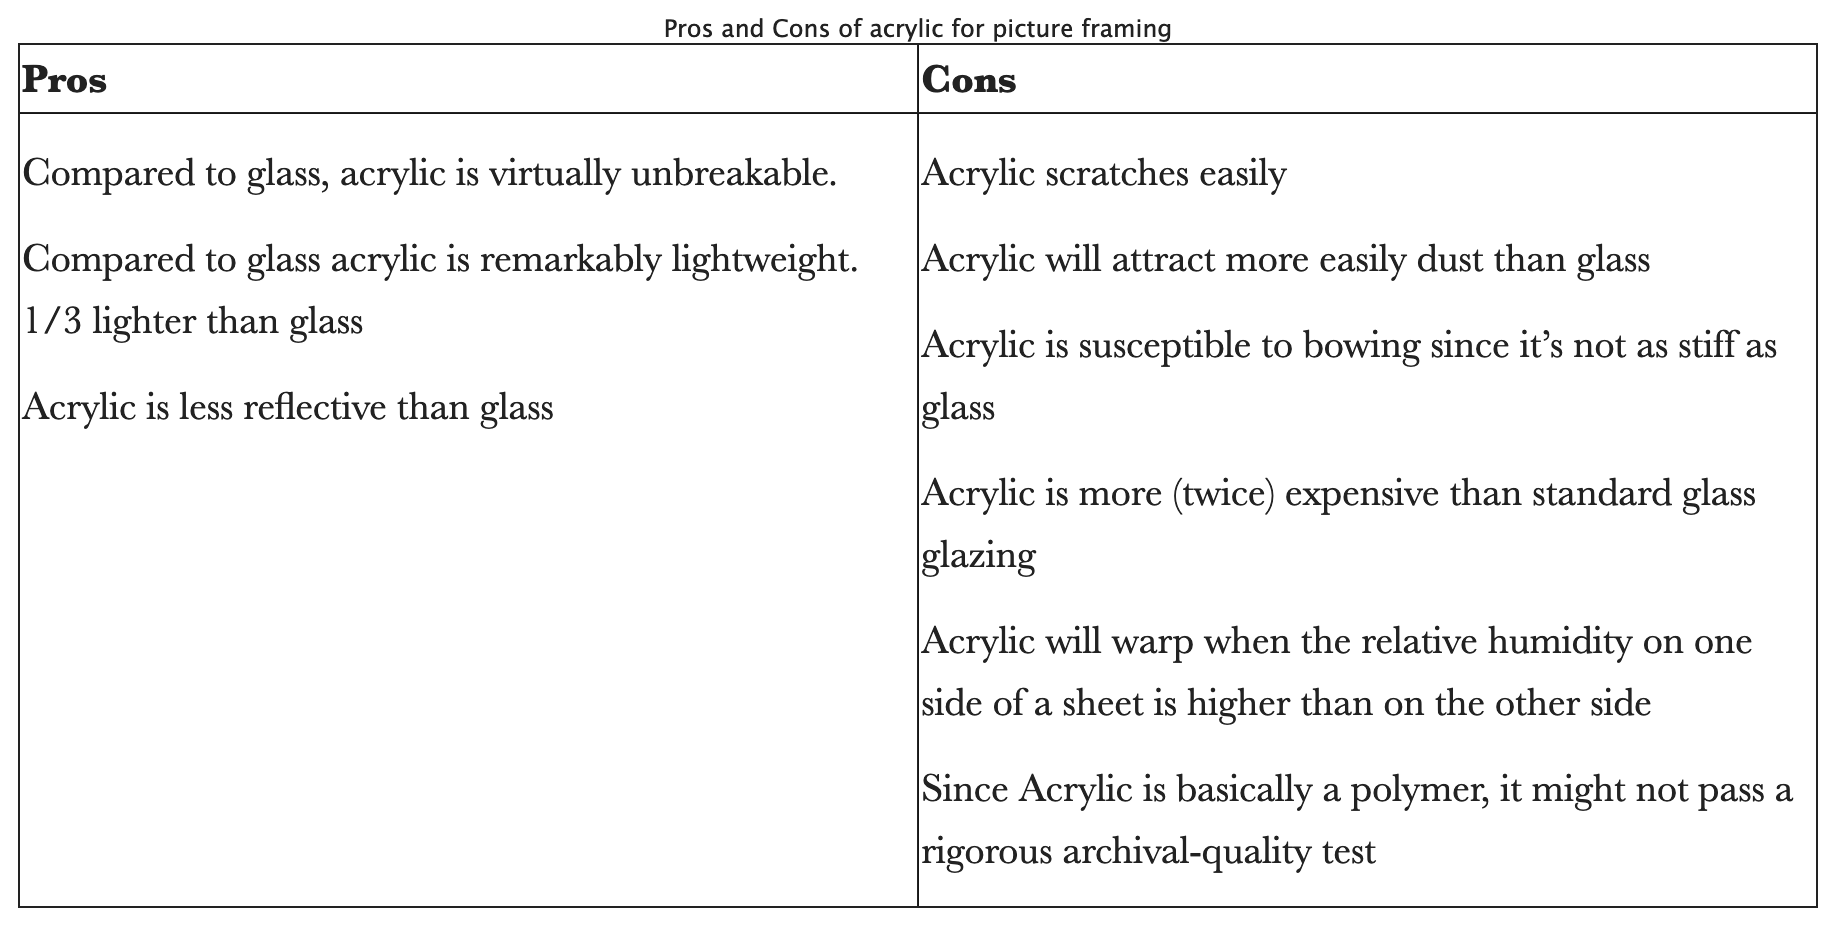
In order to protect the print from light and dust, the frame will be closed at the front with glass or acrylic.
My personal preference is to use conservation or museum quality glass. Acrylic, however, can be considered a good alternative. To help you make the choice that best suits your needs the tables below provide the pros and cons of both.
The front glass and the mounted and matted print will be placed in a frame that holds everything together. The frame will also need to match the print to display it in the best possible manner.
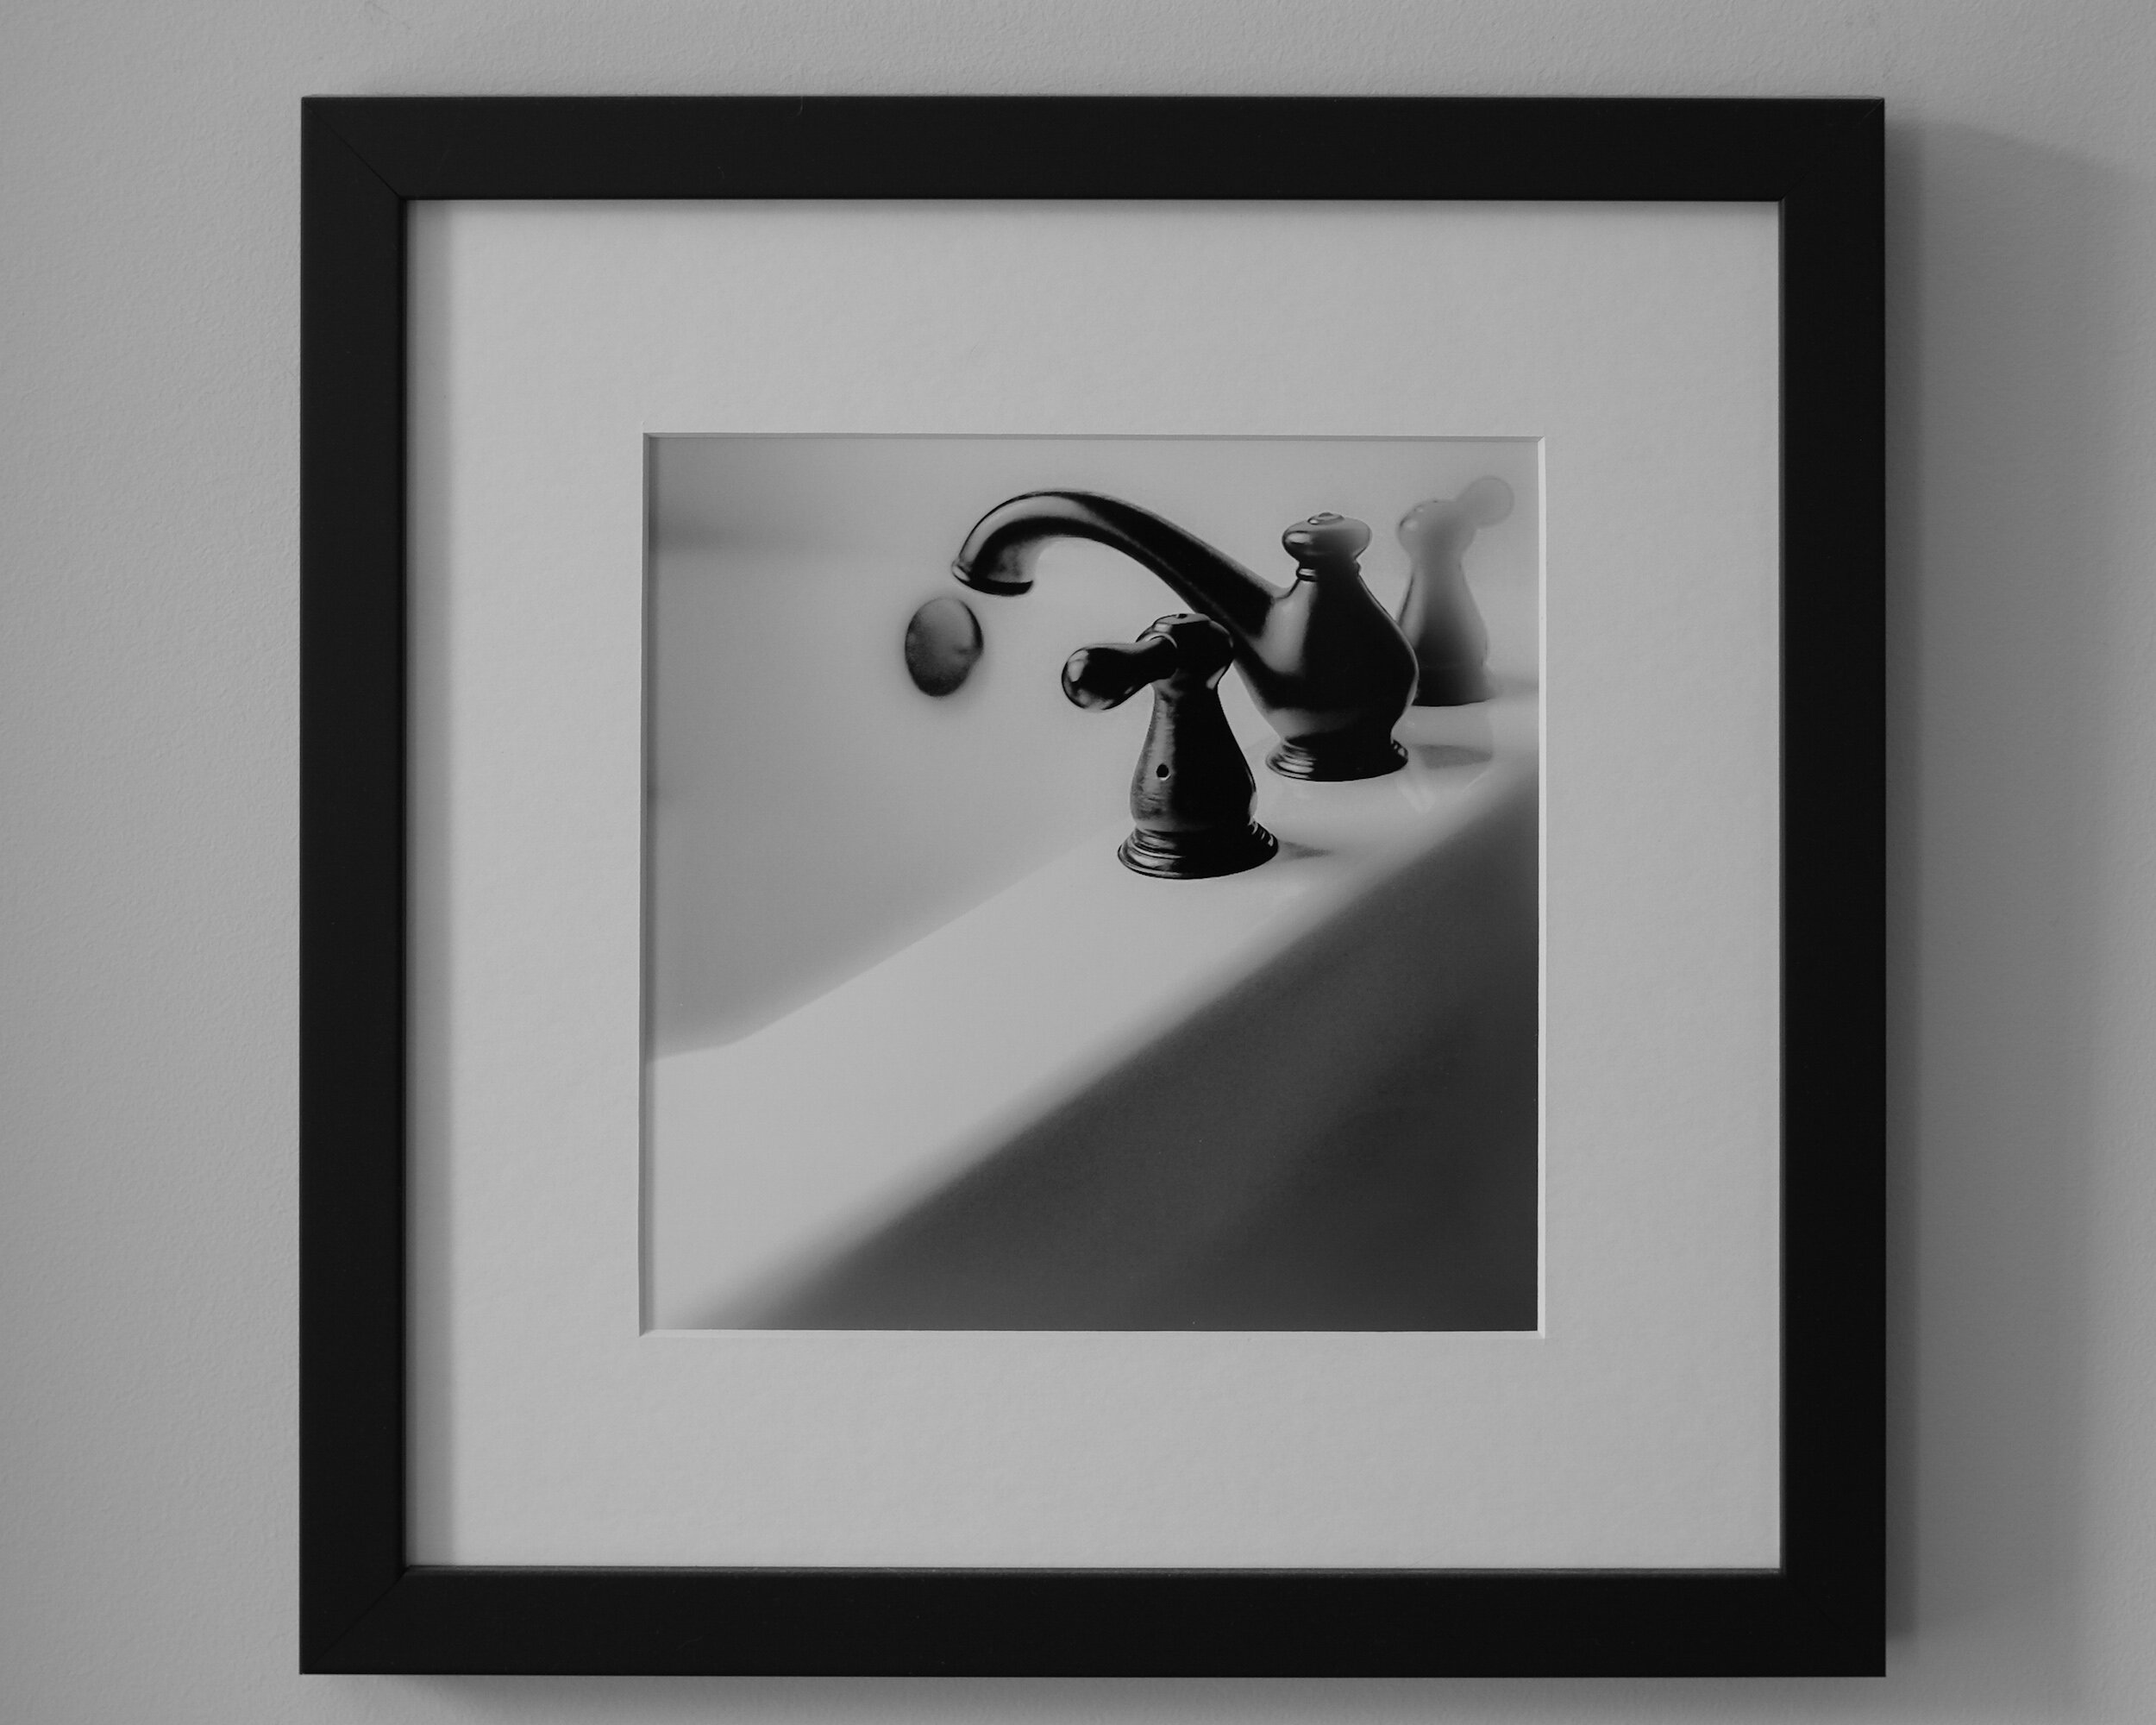
Frames are available in a multitude of materials, colors, and sizes. My preferred frame is a simple, unadorned, black frame that size-wise (width) matches the size of the print and the mat borders. The material of the frame can be wood or metal. This sometimes also is called gallery framing.
Depending on the color scheme of the print, the subject of the image, and of course your personal preference, nothing, however, prevents you from using very broad frames, colored frames, ornamental frames, etcetera. The choices are practically unlimited.
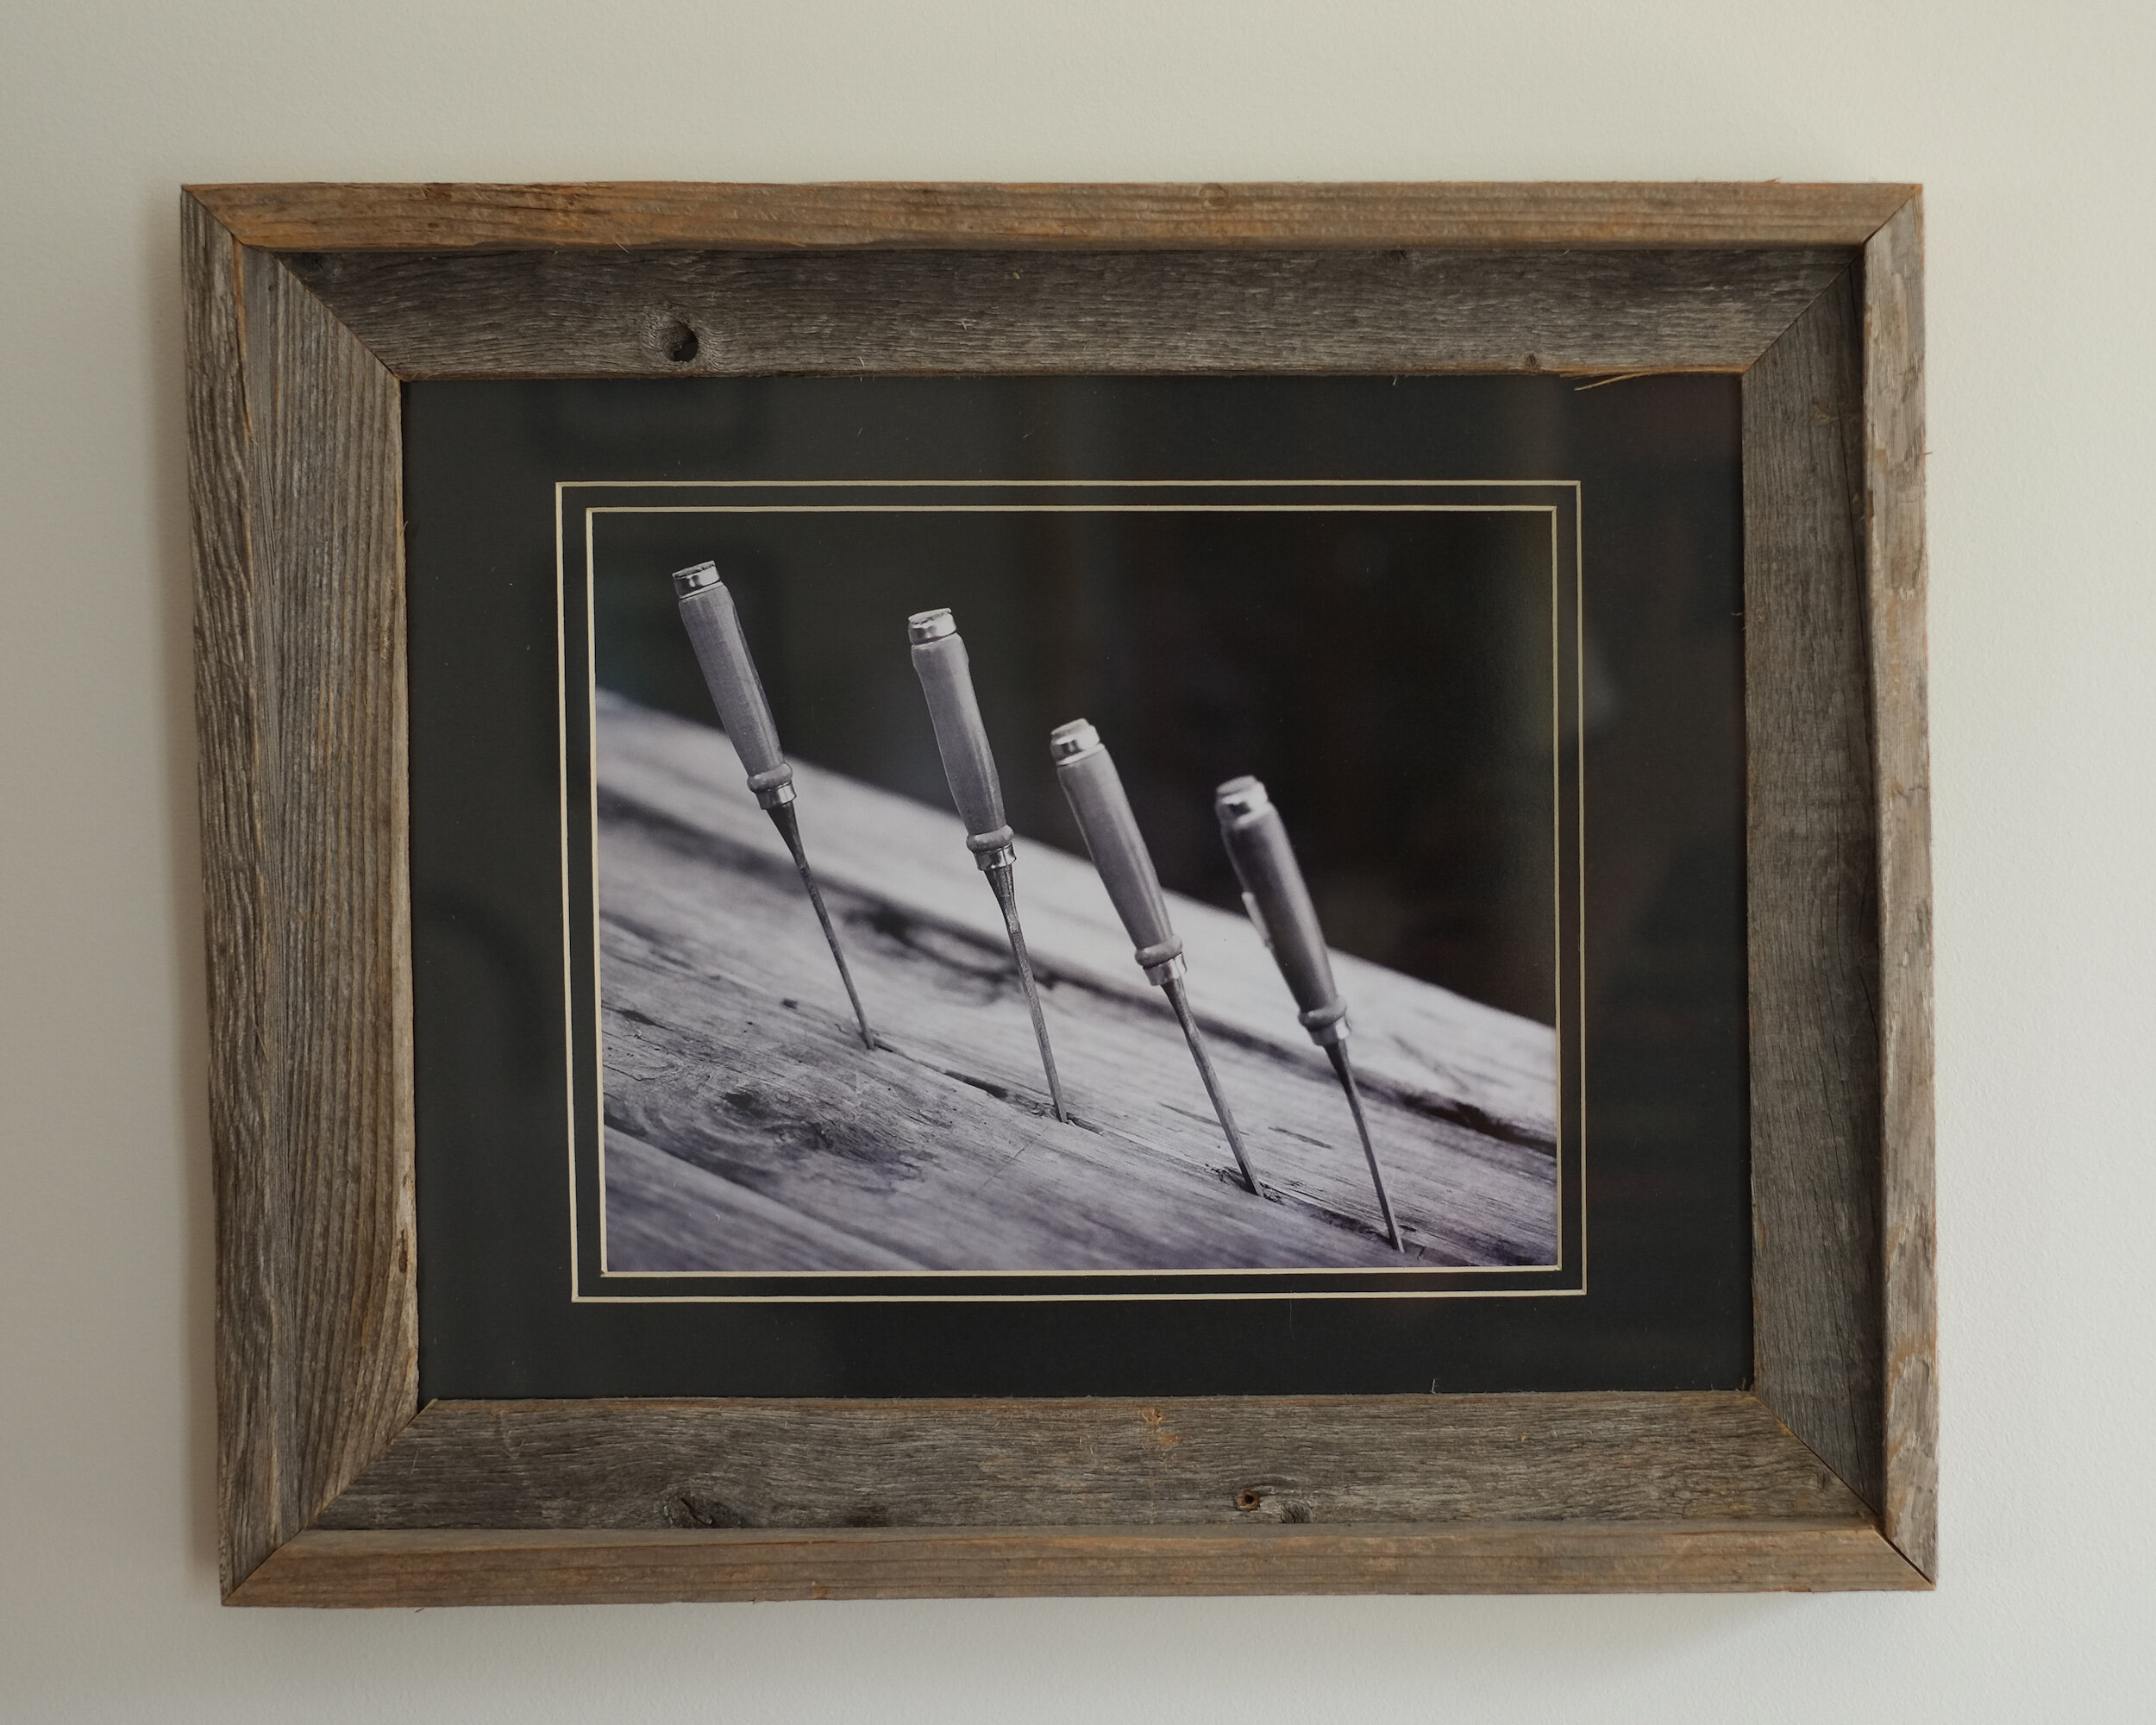
I actually have a couple of black and white prints of chisels mounted in reclaimed wooden frames. The wood of the frames matches and adds to the structure of the wood in the prints, which in this case enhances the impact of the print.
Displaying fine art photography
Now you have a matted and framed photographic print ready for display.
The usual way to display your print would be hanging it on a wall. Depending on the size of the framed print, and whether it is part of a series, you might consider hanging it on its own to create a specific focal point or arrange it within a group of prints.
I have created this Pinterest Interior Design board, to provide some ideas on how to group framed prints.
Another way, however, to display one or more framed prints is to put them on a shelf. Since you don’t need to put any nails in your walls or install expensive rail systems, you might consider this when you want to be more flexible with your displays, for example when you have several prints you want to change on a regular basis.
However you want to display your framed prints, keep in mind that it is always best to avoid direct light, even when you invested in conservation or museum grade glass for framing.