What I Learned From Using Film Simulations And In-camera Presets With The Fujifilm X100F
To discover what the Fujifilm X100F is capable of, and to experiment with its settings, I played for a couple of weeks with film simulation and factory provided presets.
It was not only a fun thing to do, I also learned a lot from it.
Film simulations
Advanced Filters (factory presets)
How to use them properly
Which did I use
What I learned from using presets
How am I going to use presets going forward
Conclusions and recommendations
Film simulations
One of the blogs I discovered conducting my pre-purchase search for reviews of the X100F was FujiXWeekly, written by Ritchie Roesch.
This blog not only provides a great and very helpful review of the camera, but it also contains several articles on in-camera film simulation recipes based on the standard built-in film simulations. By tweaking the standard presets, Roesch has been able to create presets that result in very accurate simulations of great film emulsions. Some examples are: Acros push processed, Ektachrome, Kodachrome, and CineStill800T.
As mentioned in a previous post, I had a lot of fun using some of these recipes, and they helped me understand how to tweak the built-in presets to get specific results.
Advanced Filters
While the film simulation presets can be programmed in detail in the Custom Settings menu, the X100F also has several pre-programmed in-camera presets that simulate specific other cameras, techniques, and photography techniques. These Advanced Filters can be accessed by hitting the Drive button of the multi-selector and then scrolling almost all the way down to the second Adv. selection.
The presets available in the Advanced Filters menu are:
Toy Camera (create shaded borders as taken by toy cameras);
Miniature (create a top and bottom blur for diorama effect);
Pop Color (emphasize contrast and color saturation);
High-Key (enhance brightness and reduce contrast for lightening tone reproduction);
Low-Key (create uniformly dark tones with few areas of emphasized highlights);
Dynamic Tone (create fantasy effect by dynamically-modulated tone reproduction);
Soft Focus (create a look that is evenly soft throughout the whole image);
And five Partial Color filters [Red, Orange, Yellow, Green, Blue, and Purple] (retain selected original color and other areas change to monochrome).
The information between brackets ( ) above is the text that is being displayed when selecting any of the Advanced Filters.
During the remainder of this article, I will refer to both film simulation recipes and the Advanced Filters as “presets"
How to use them properly
As you might be aware from previous posts, I am not a fan of ‘just’ using presets that have been developed by others.
It is great to use these presets as a basis and, most importantly, learn how they work, how they change the image, and how you can use them to create images in your personal style. Whether by tweaking existing presets, or building your own from scratch.
When looking at the images created with the presets you use, learn and understand how the original image has been altered. A great way to do this is to compare the altered image with the raw file. This is one of the main reasons I always shoot in RAW+JPEG with my cameras. The quality and size (4000x6000 pixels) of the JPEGs from the X100F is such that I easily can use these directly for printing. Having the RAW file, however, to compare with the JPEG output helps me to understand how the camera settings I selected impacted the original file. This also helps me to decide what changes possibly to make to these settings.
Which did I use
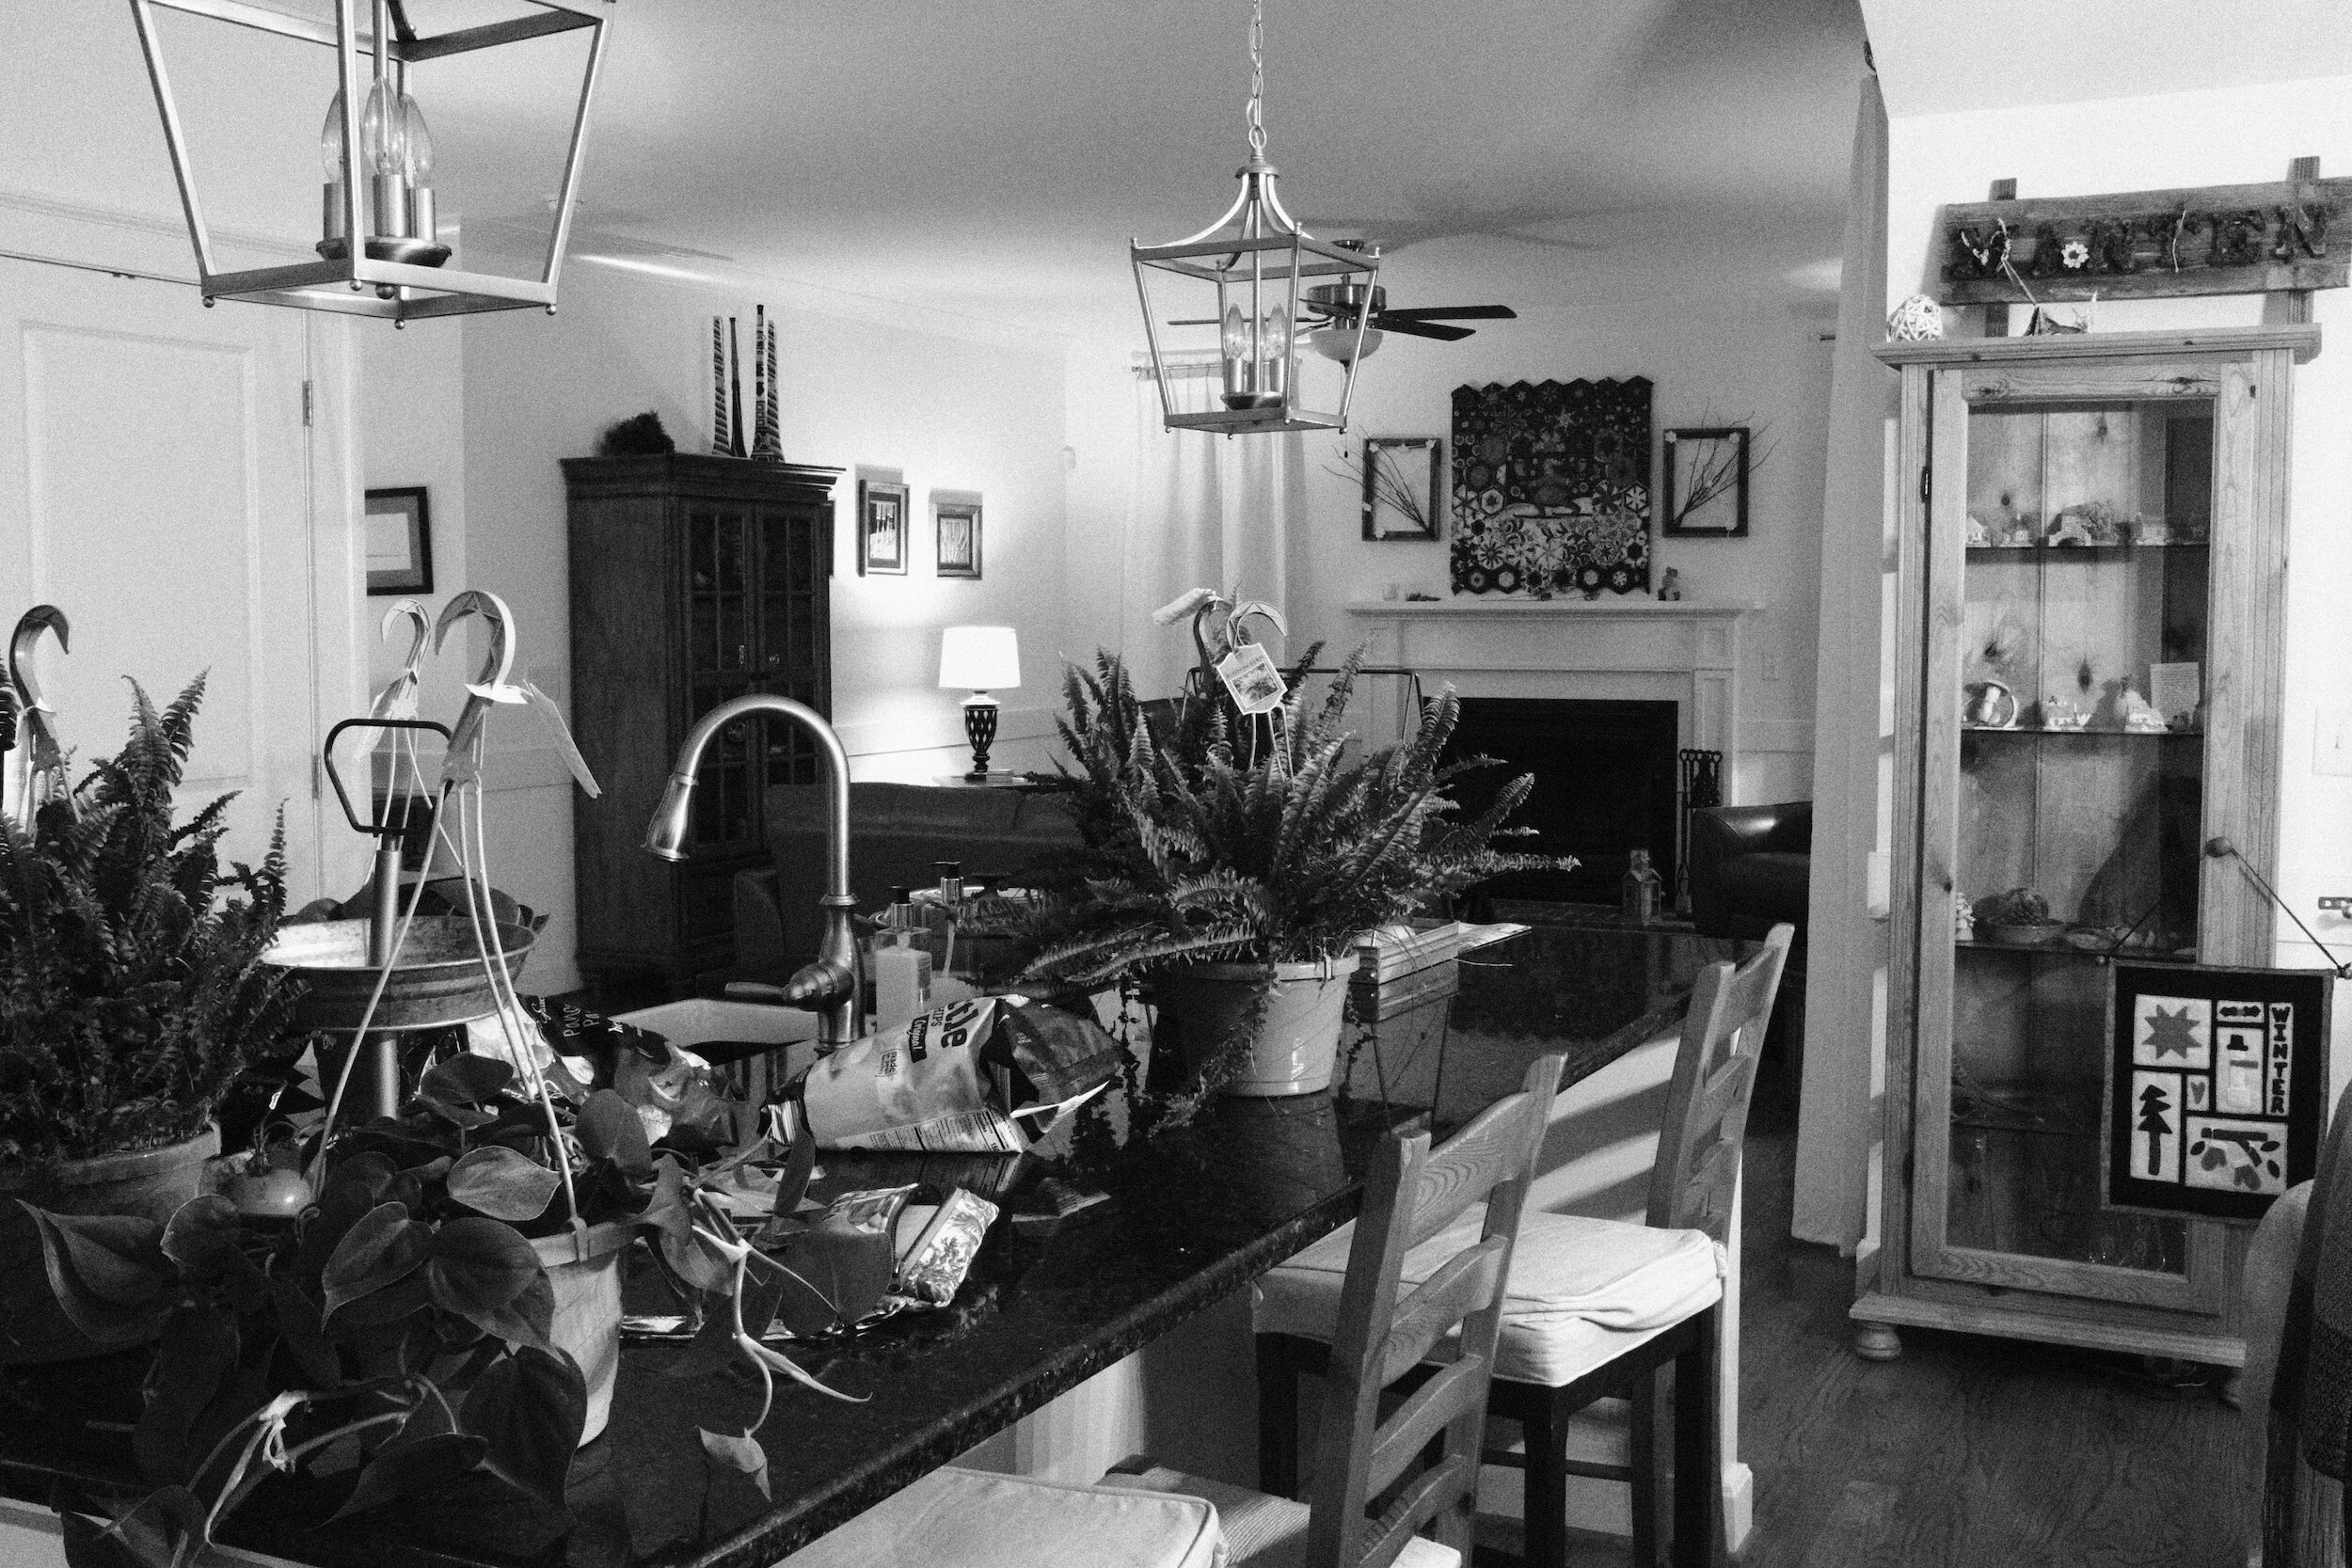
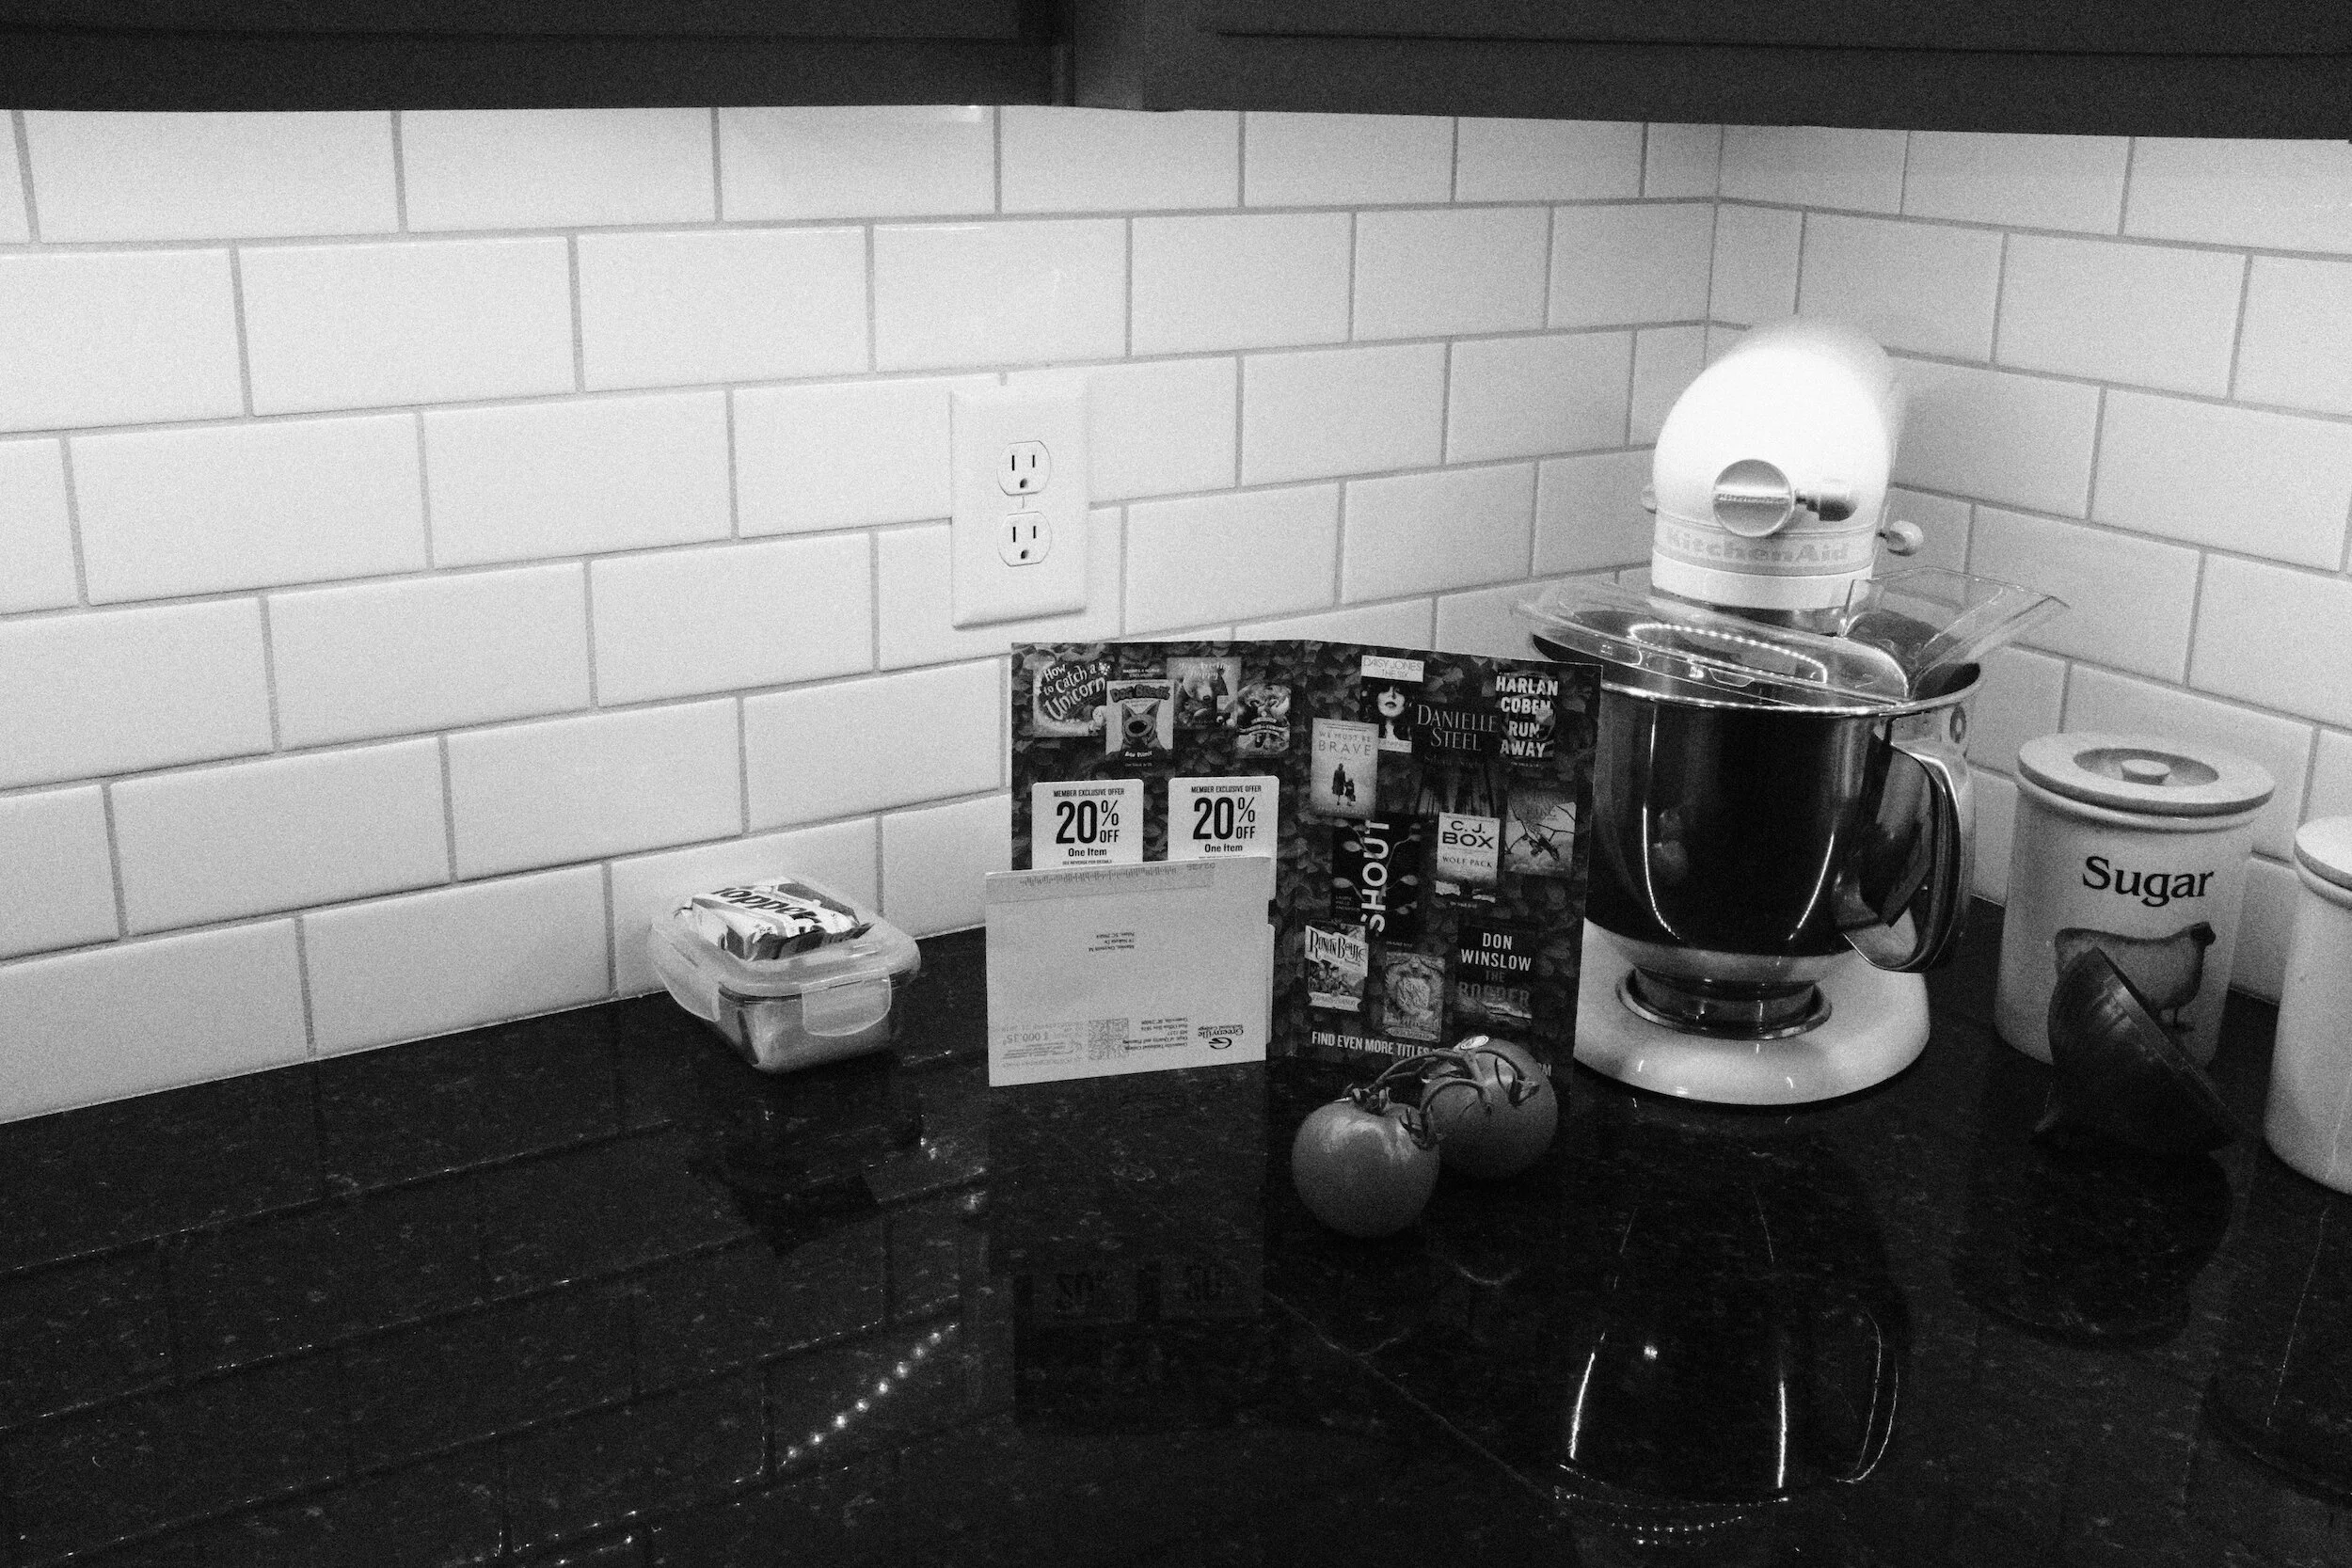
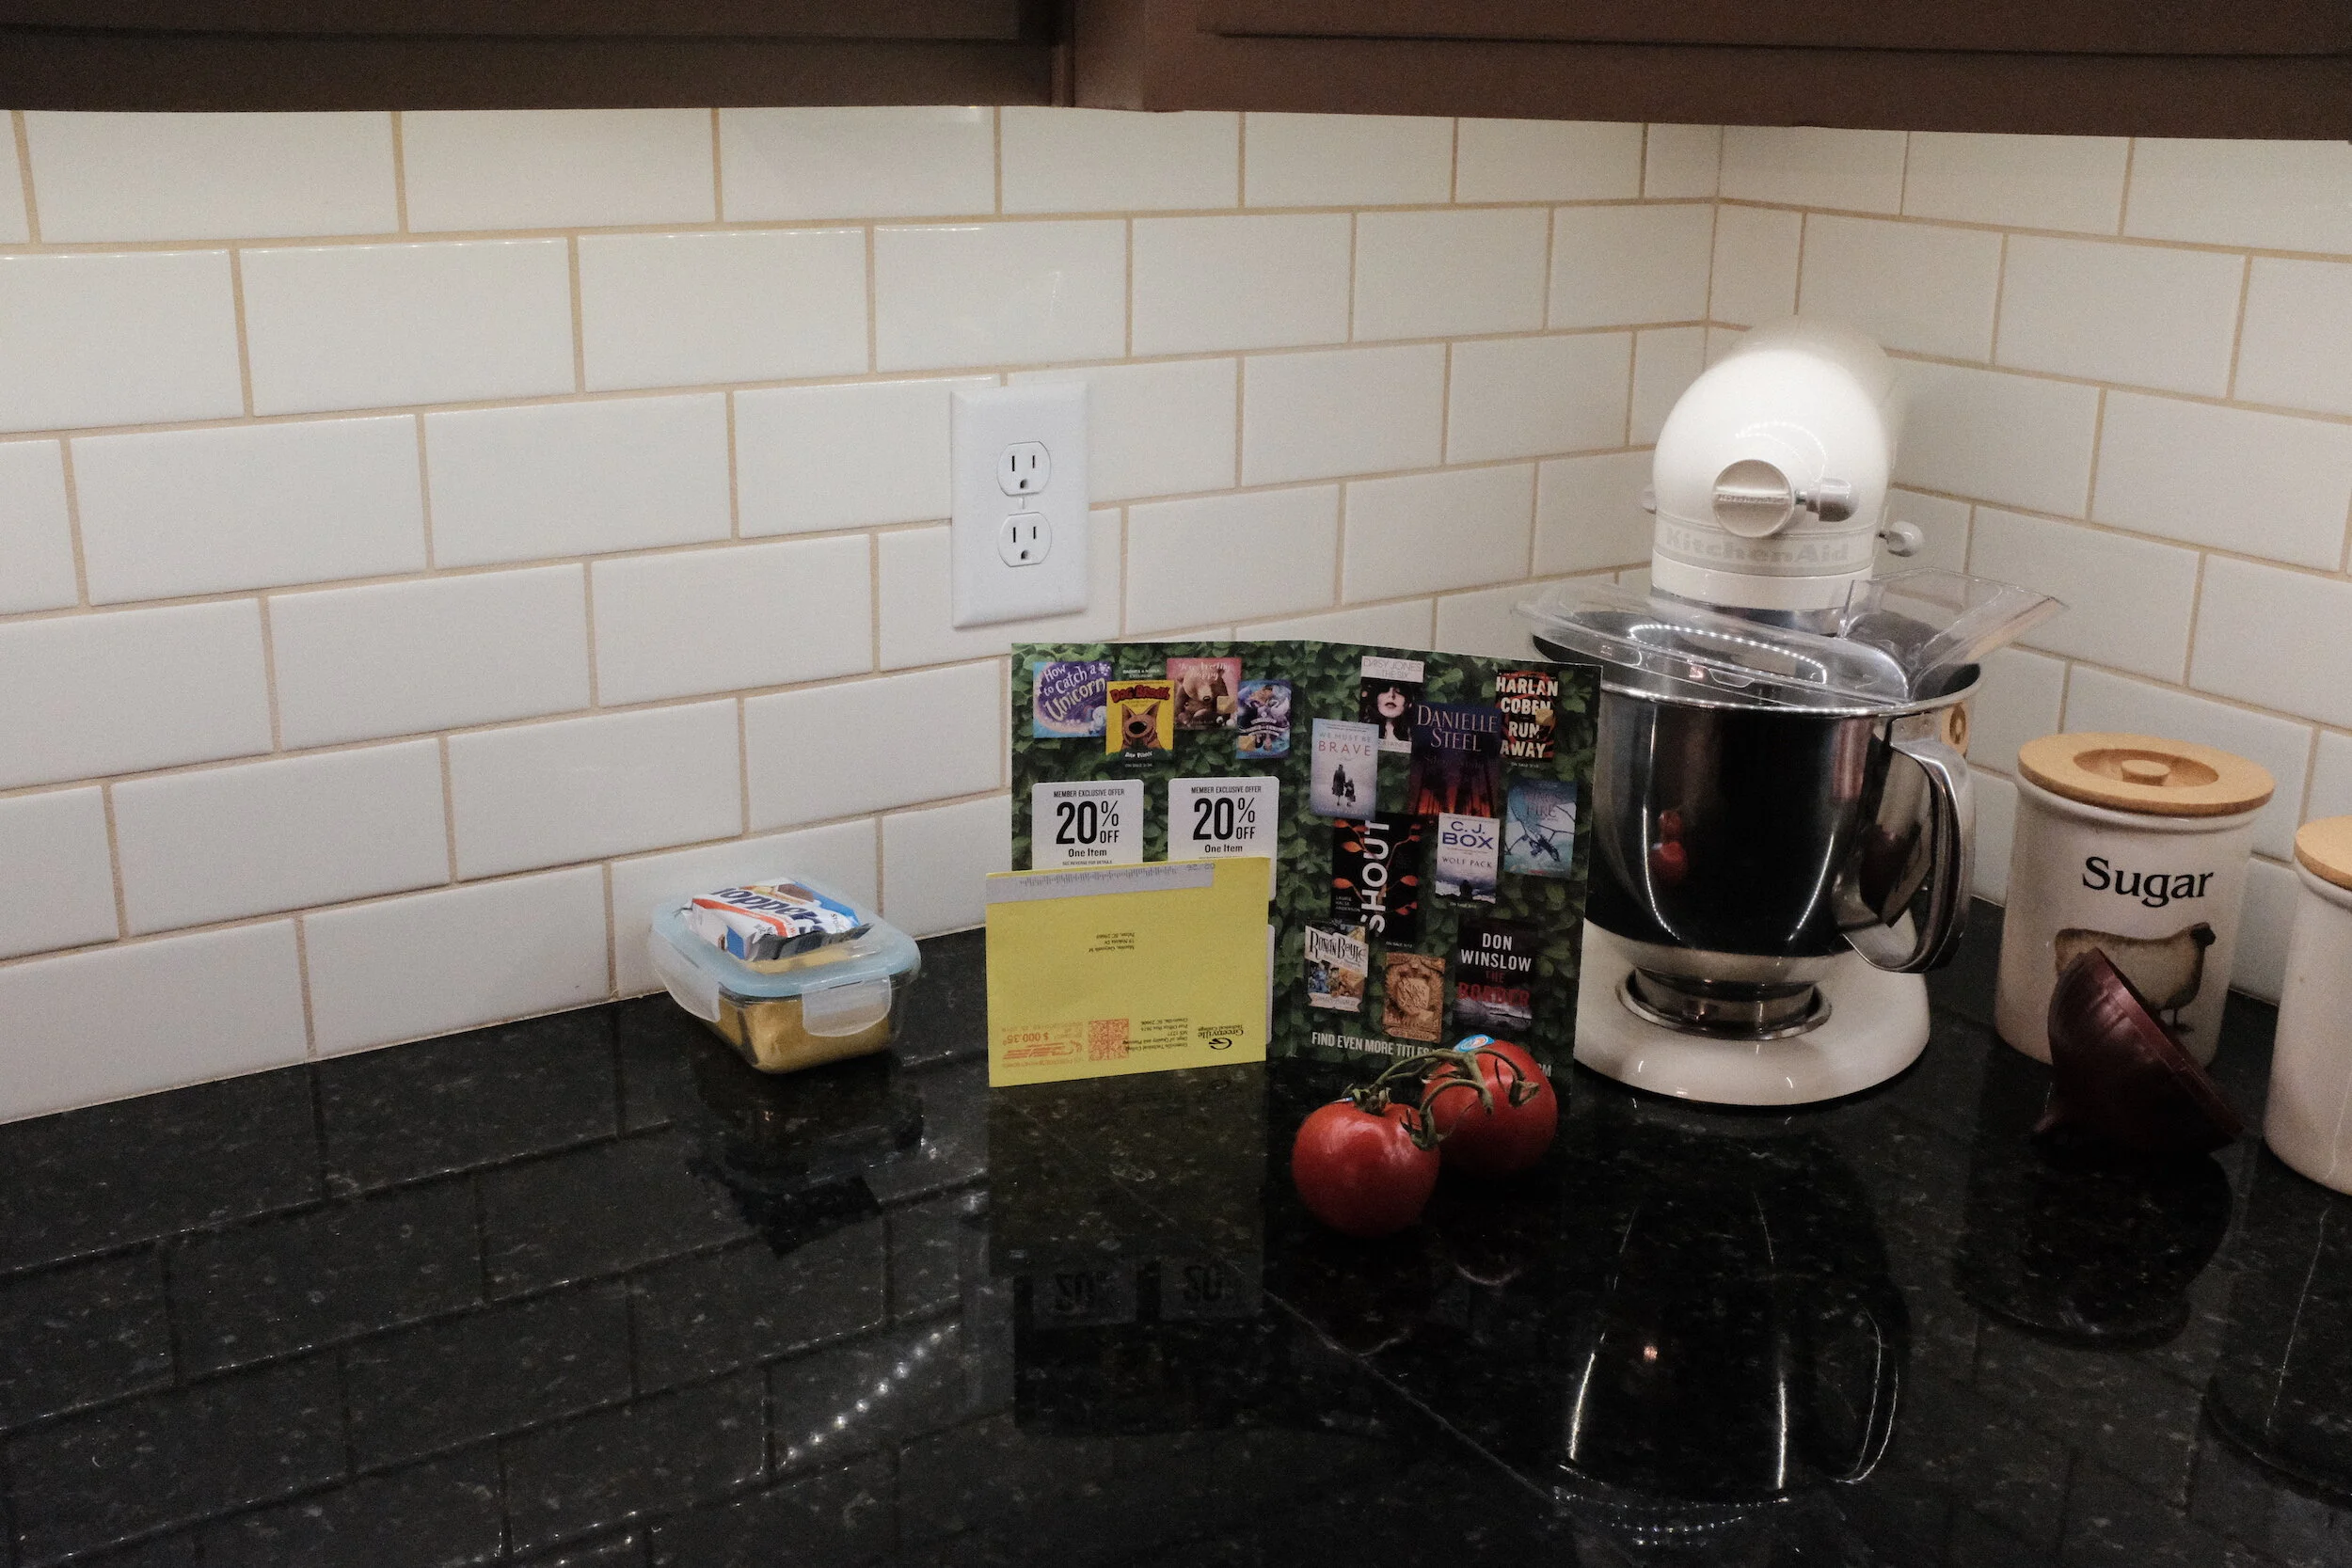
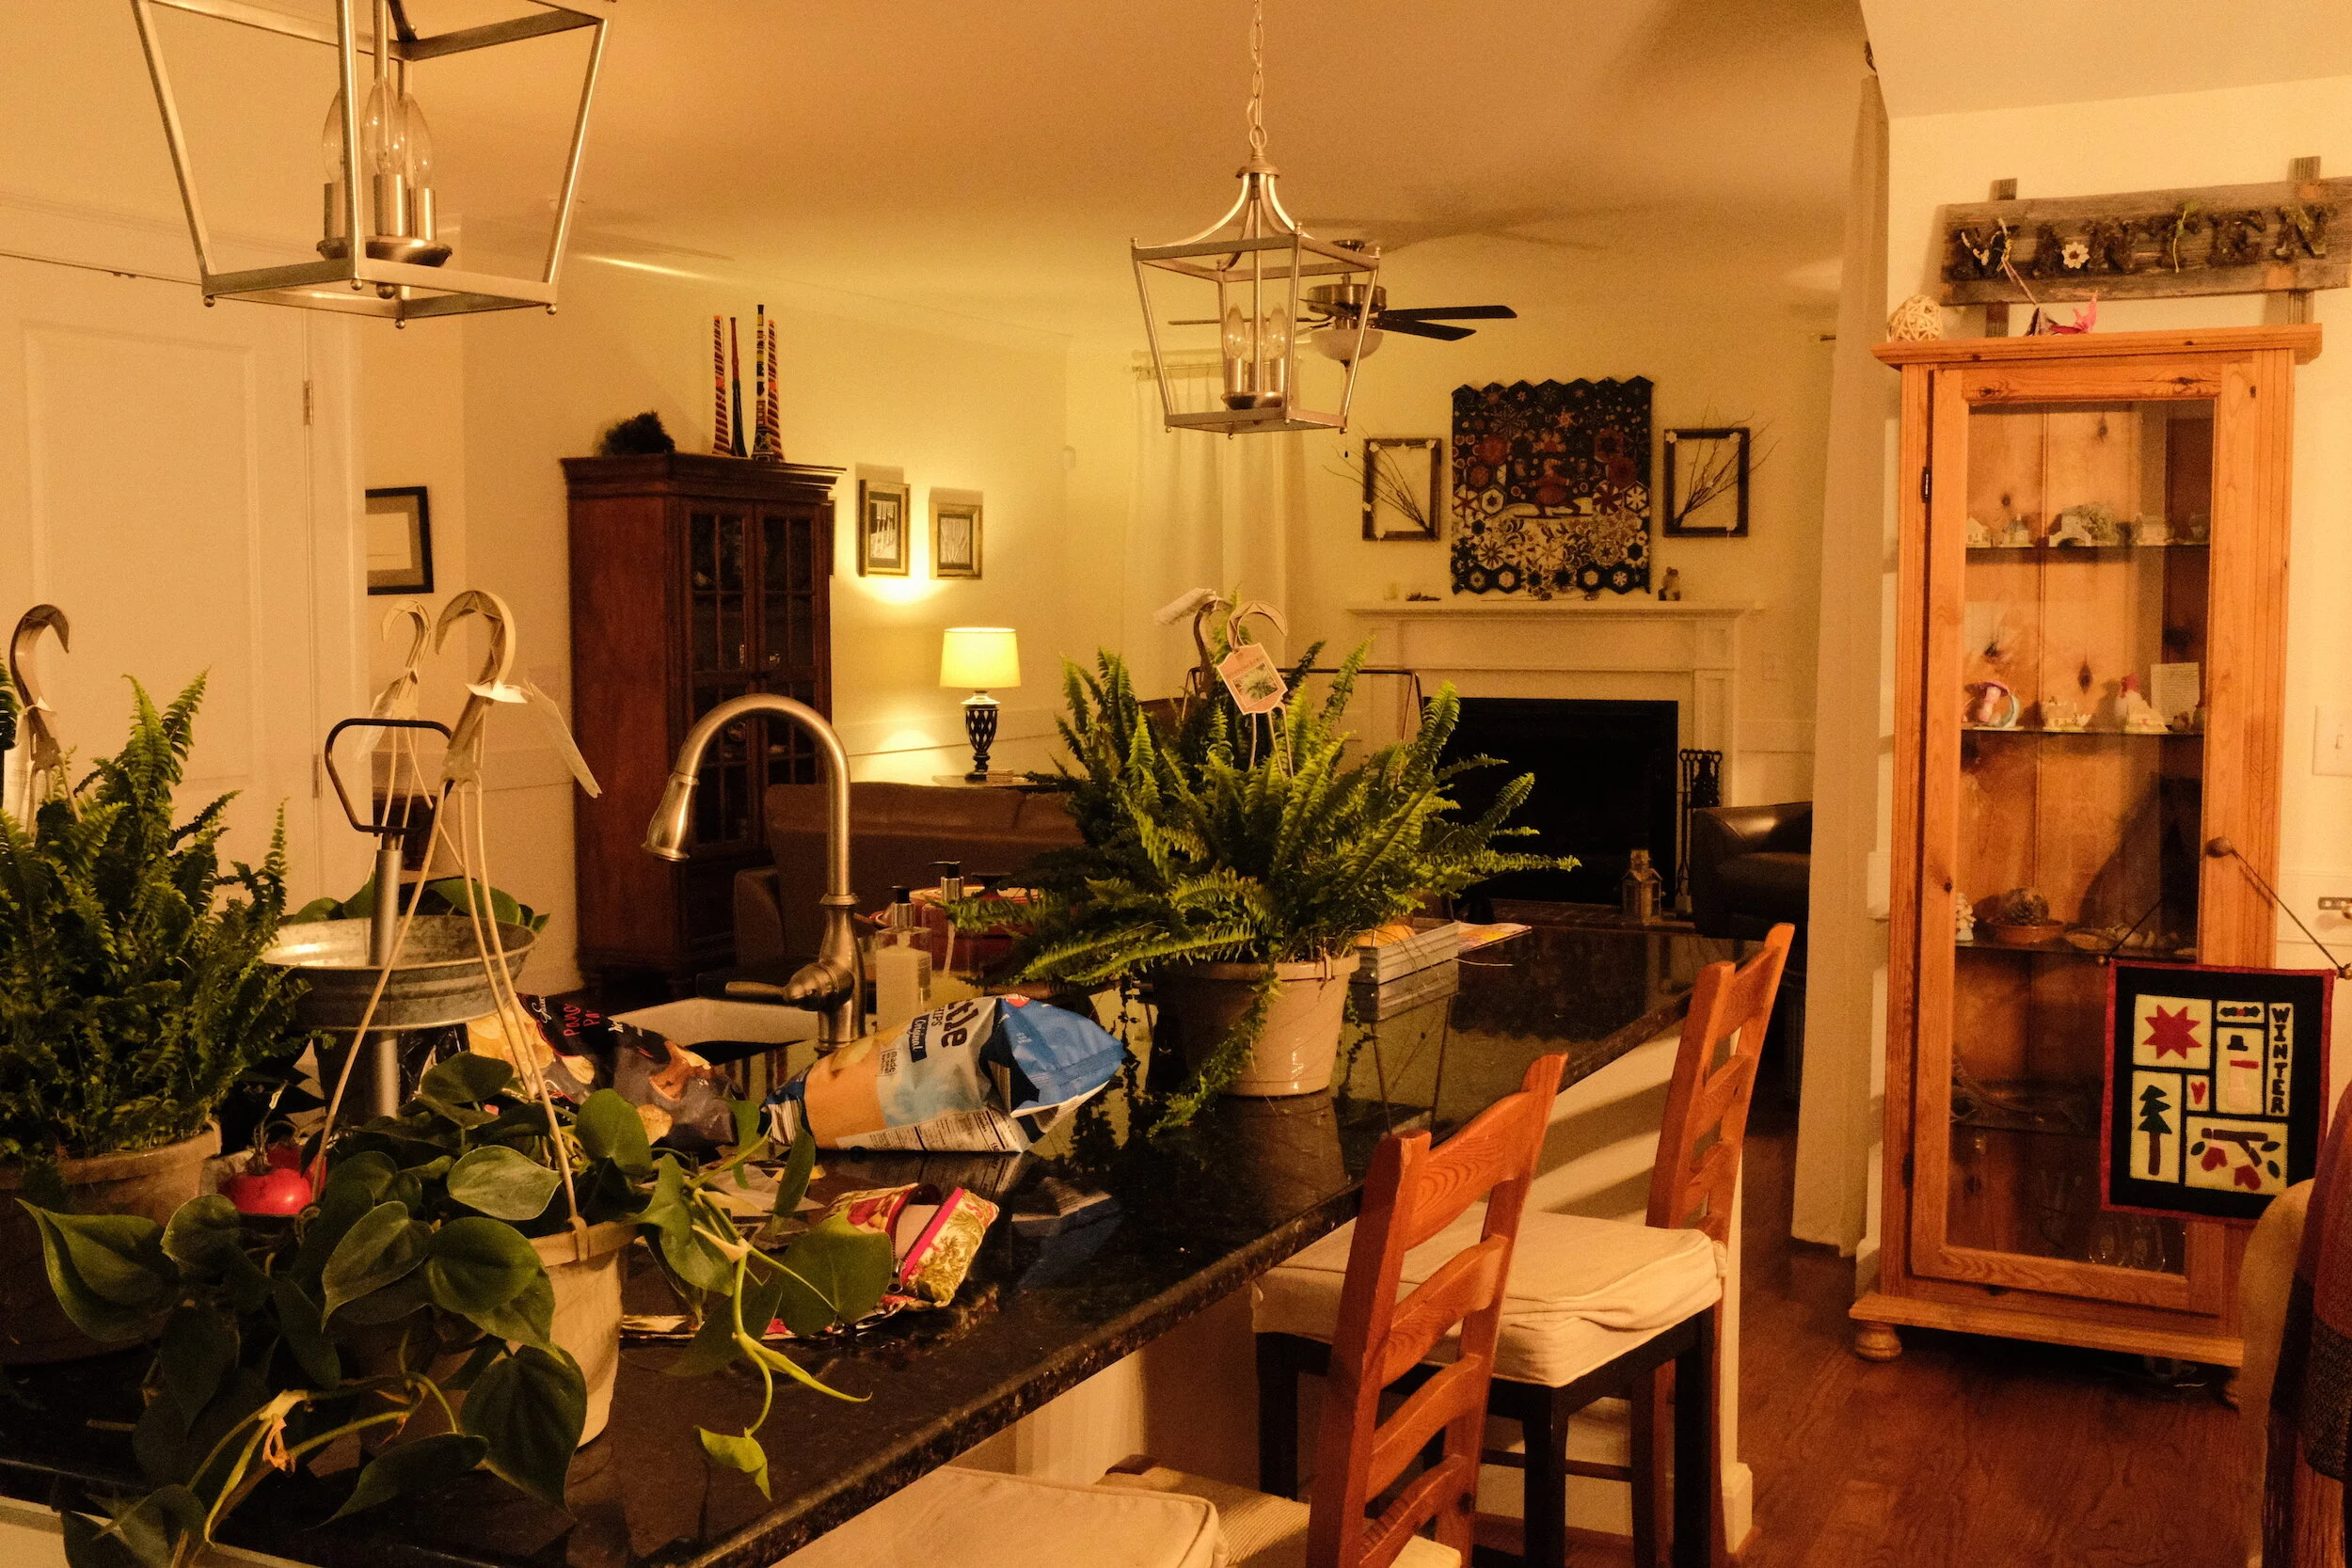
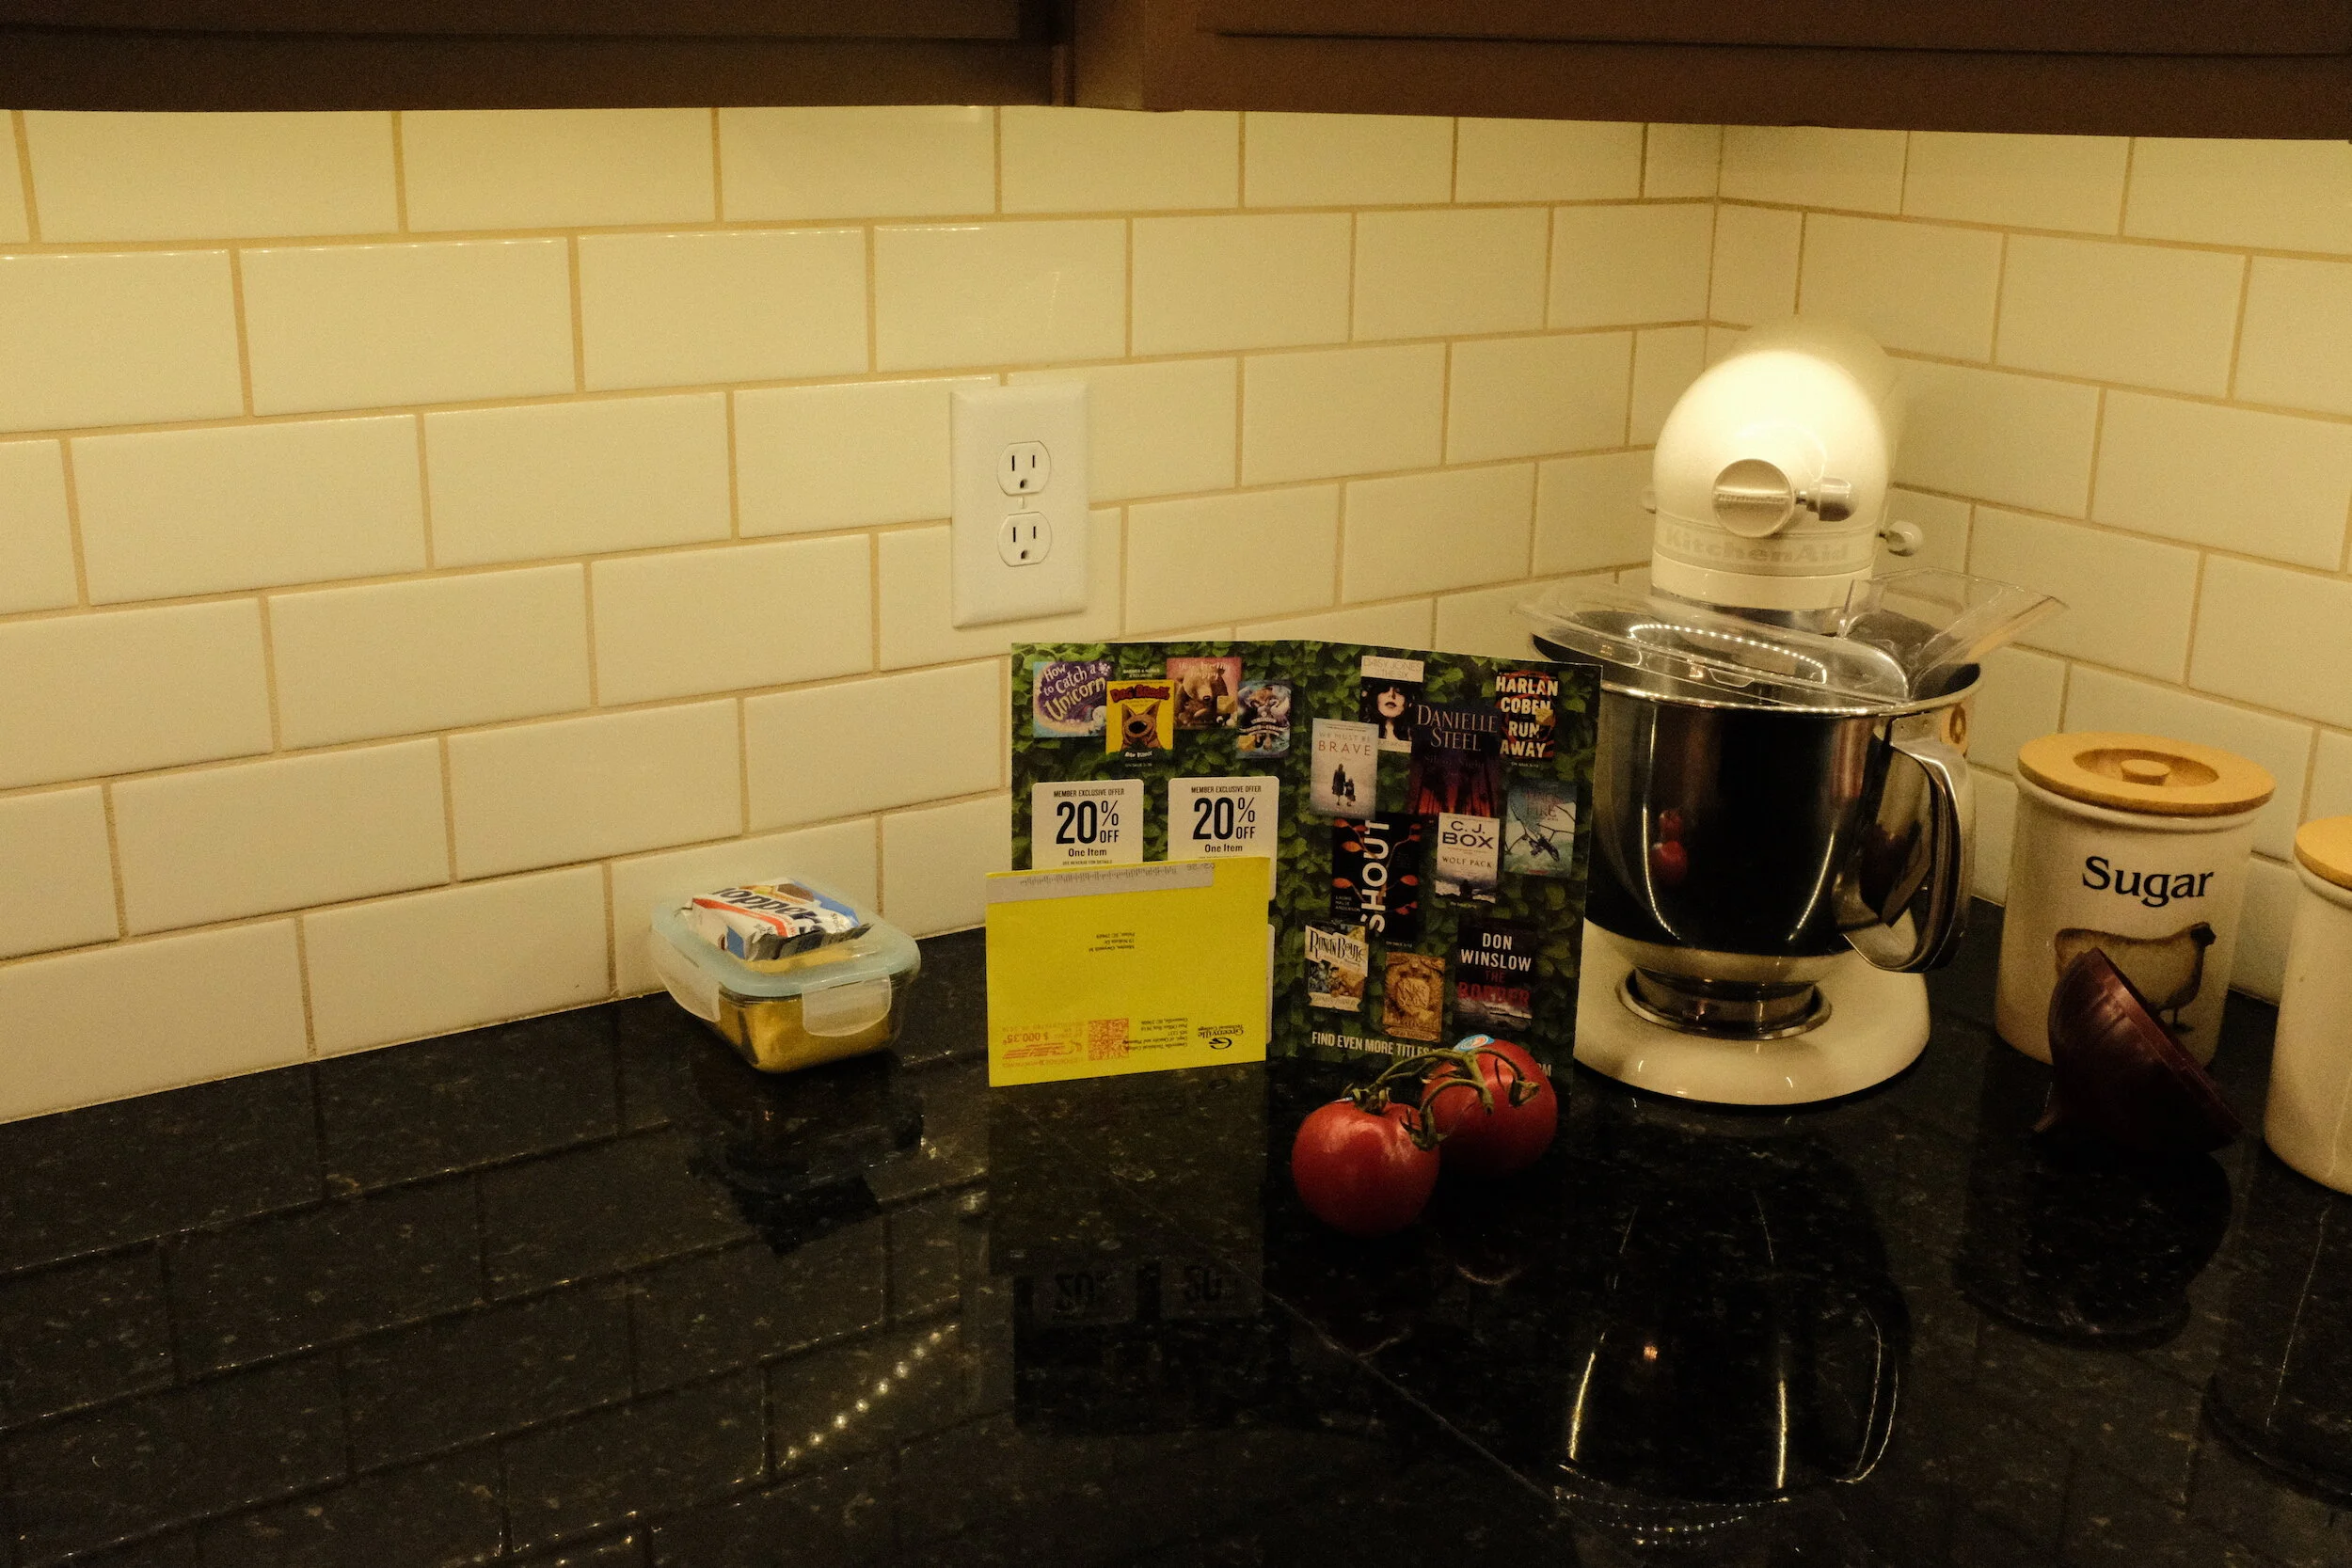
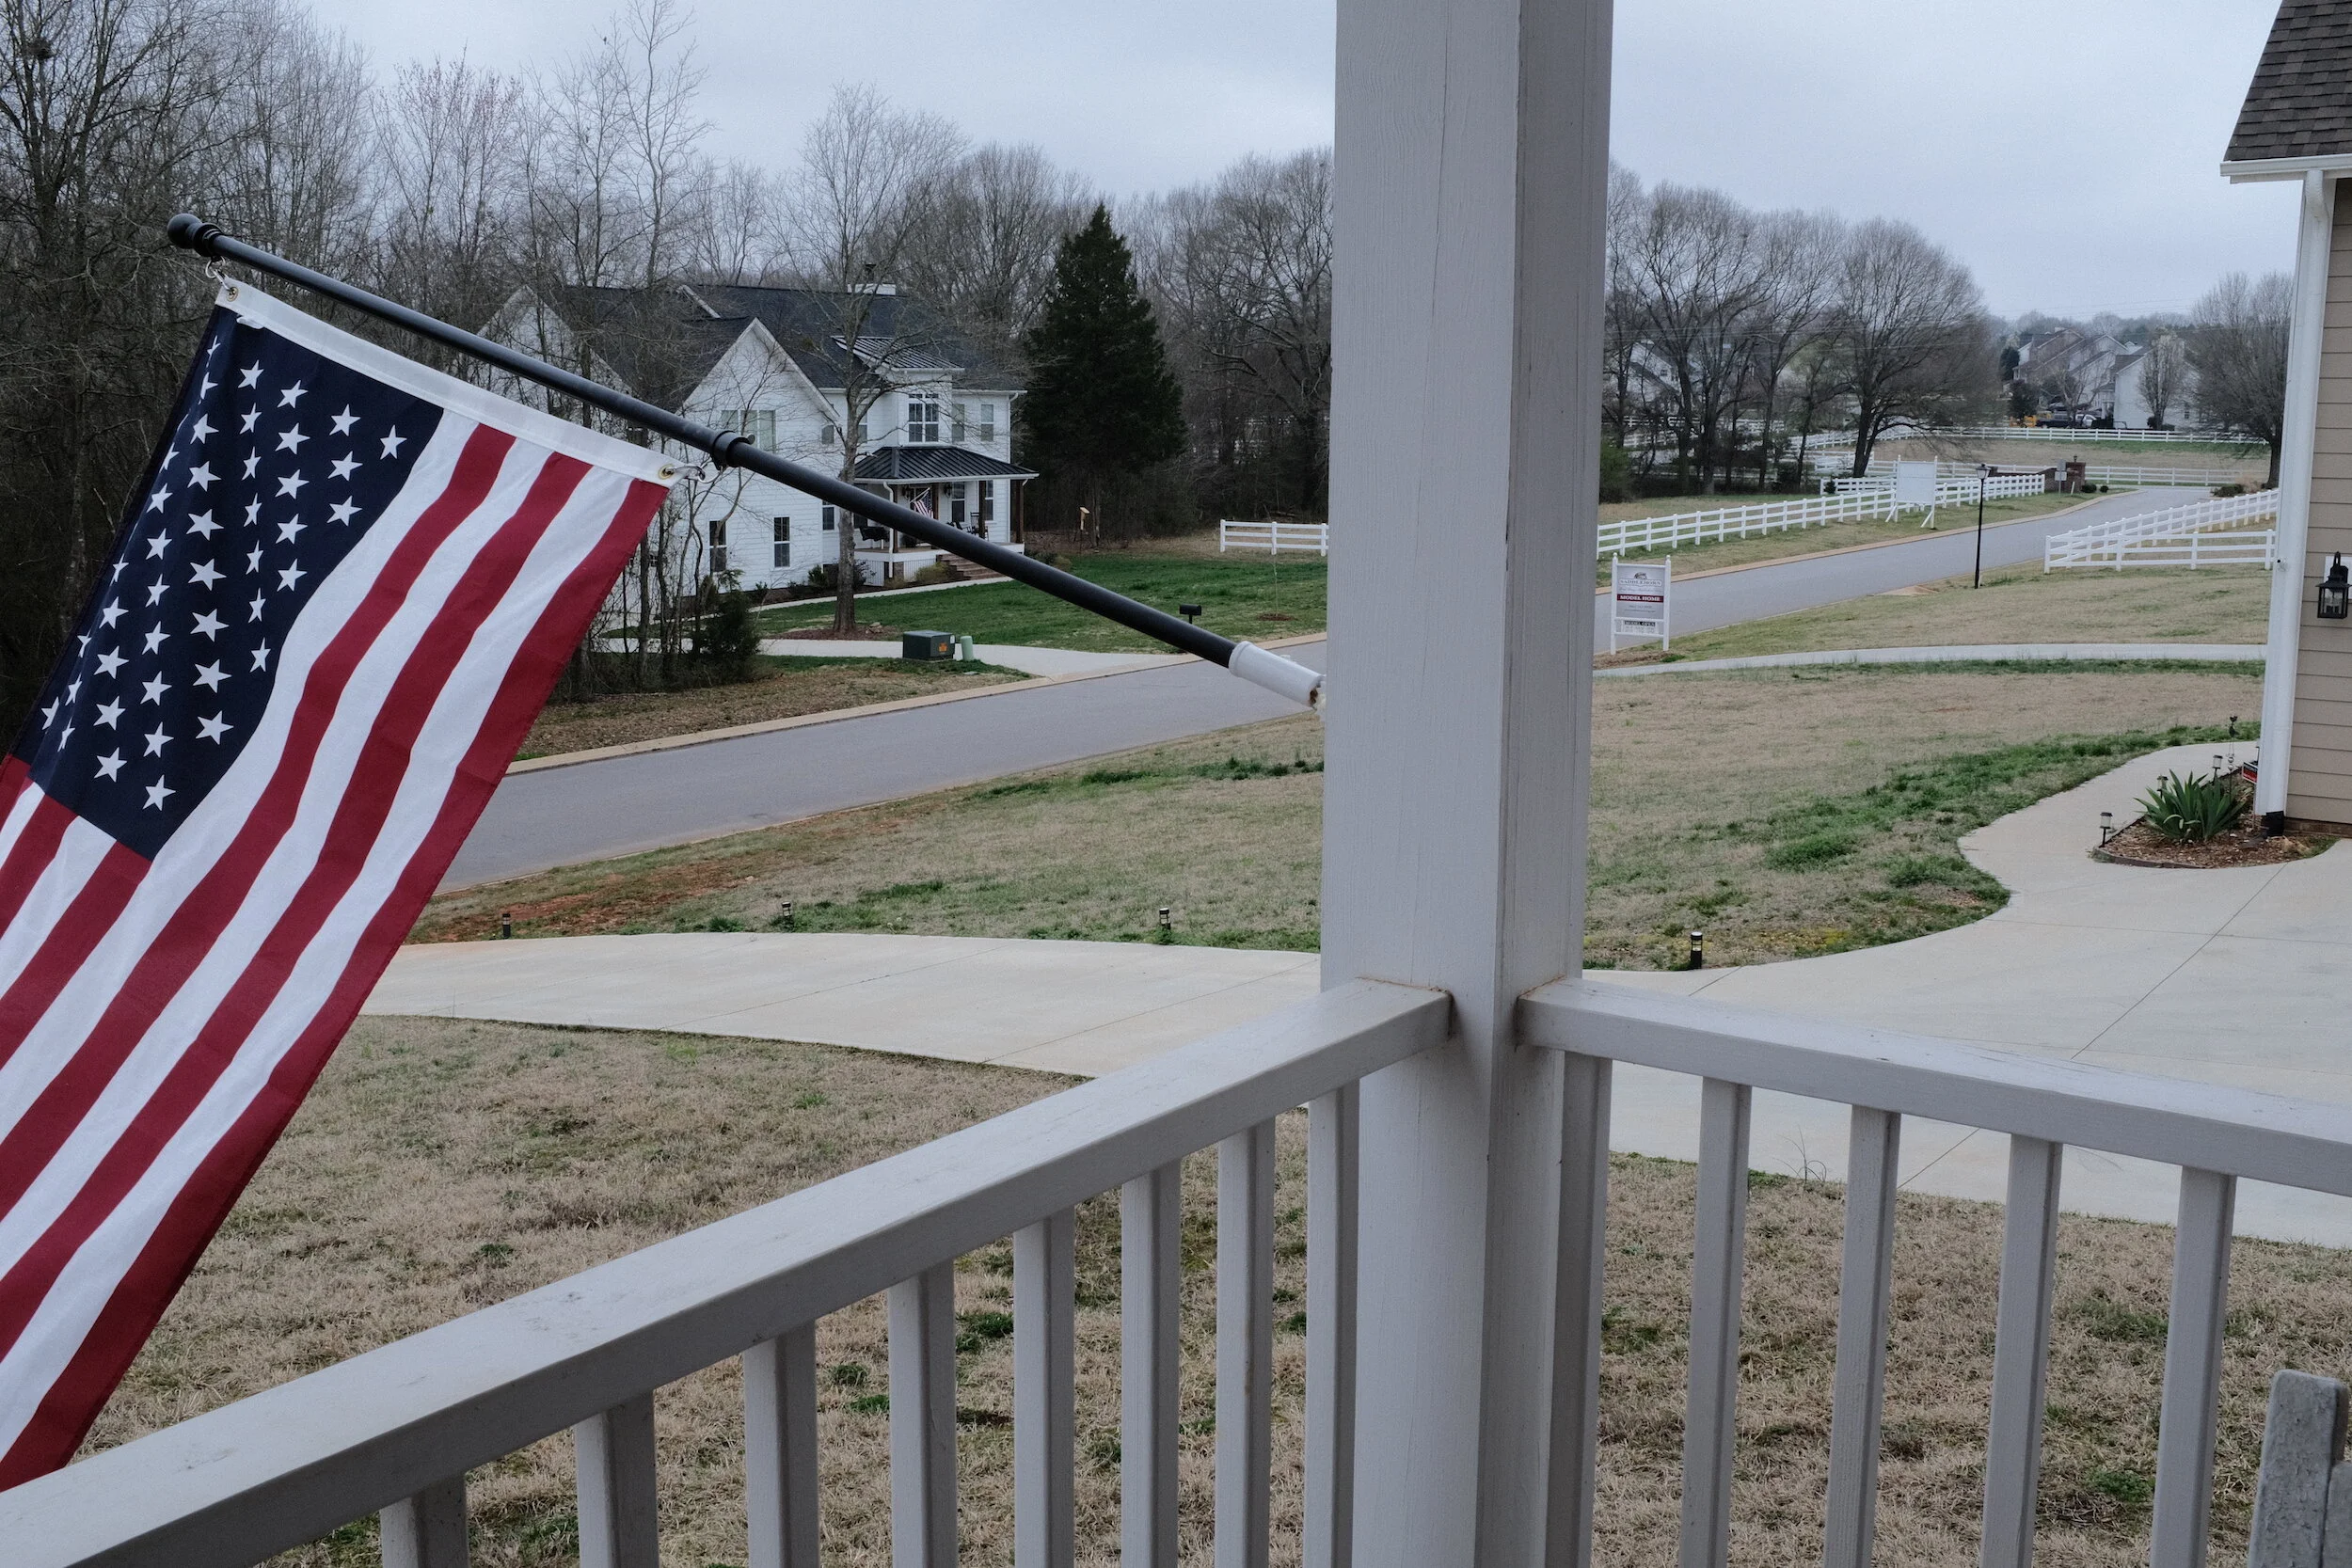
There are a lot of film simulation recipes on FujiXWeekly. After some experimenting, I decided that the Acros, CineStill800T, and ClassicChrome settings are the ones I like best. Below, however, an overview of all seven film simulations I used.
Acros
Classic black and white at its best.
To be honest, I already liked Fujifilm’s Acros simulation a lot. Especially how the Fujifilm engineers have accomplished that grain increases in a natural, very film-like manner with higher ISOs. And with the additional changes to it that can be set in the menu of the X100F, I like it even more. Ideal for creating that little black dress.
CineStill800T
Let's go to the cinema!
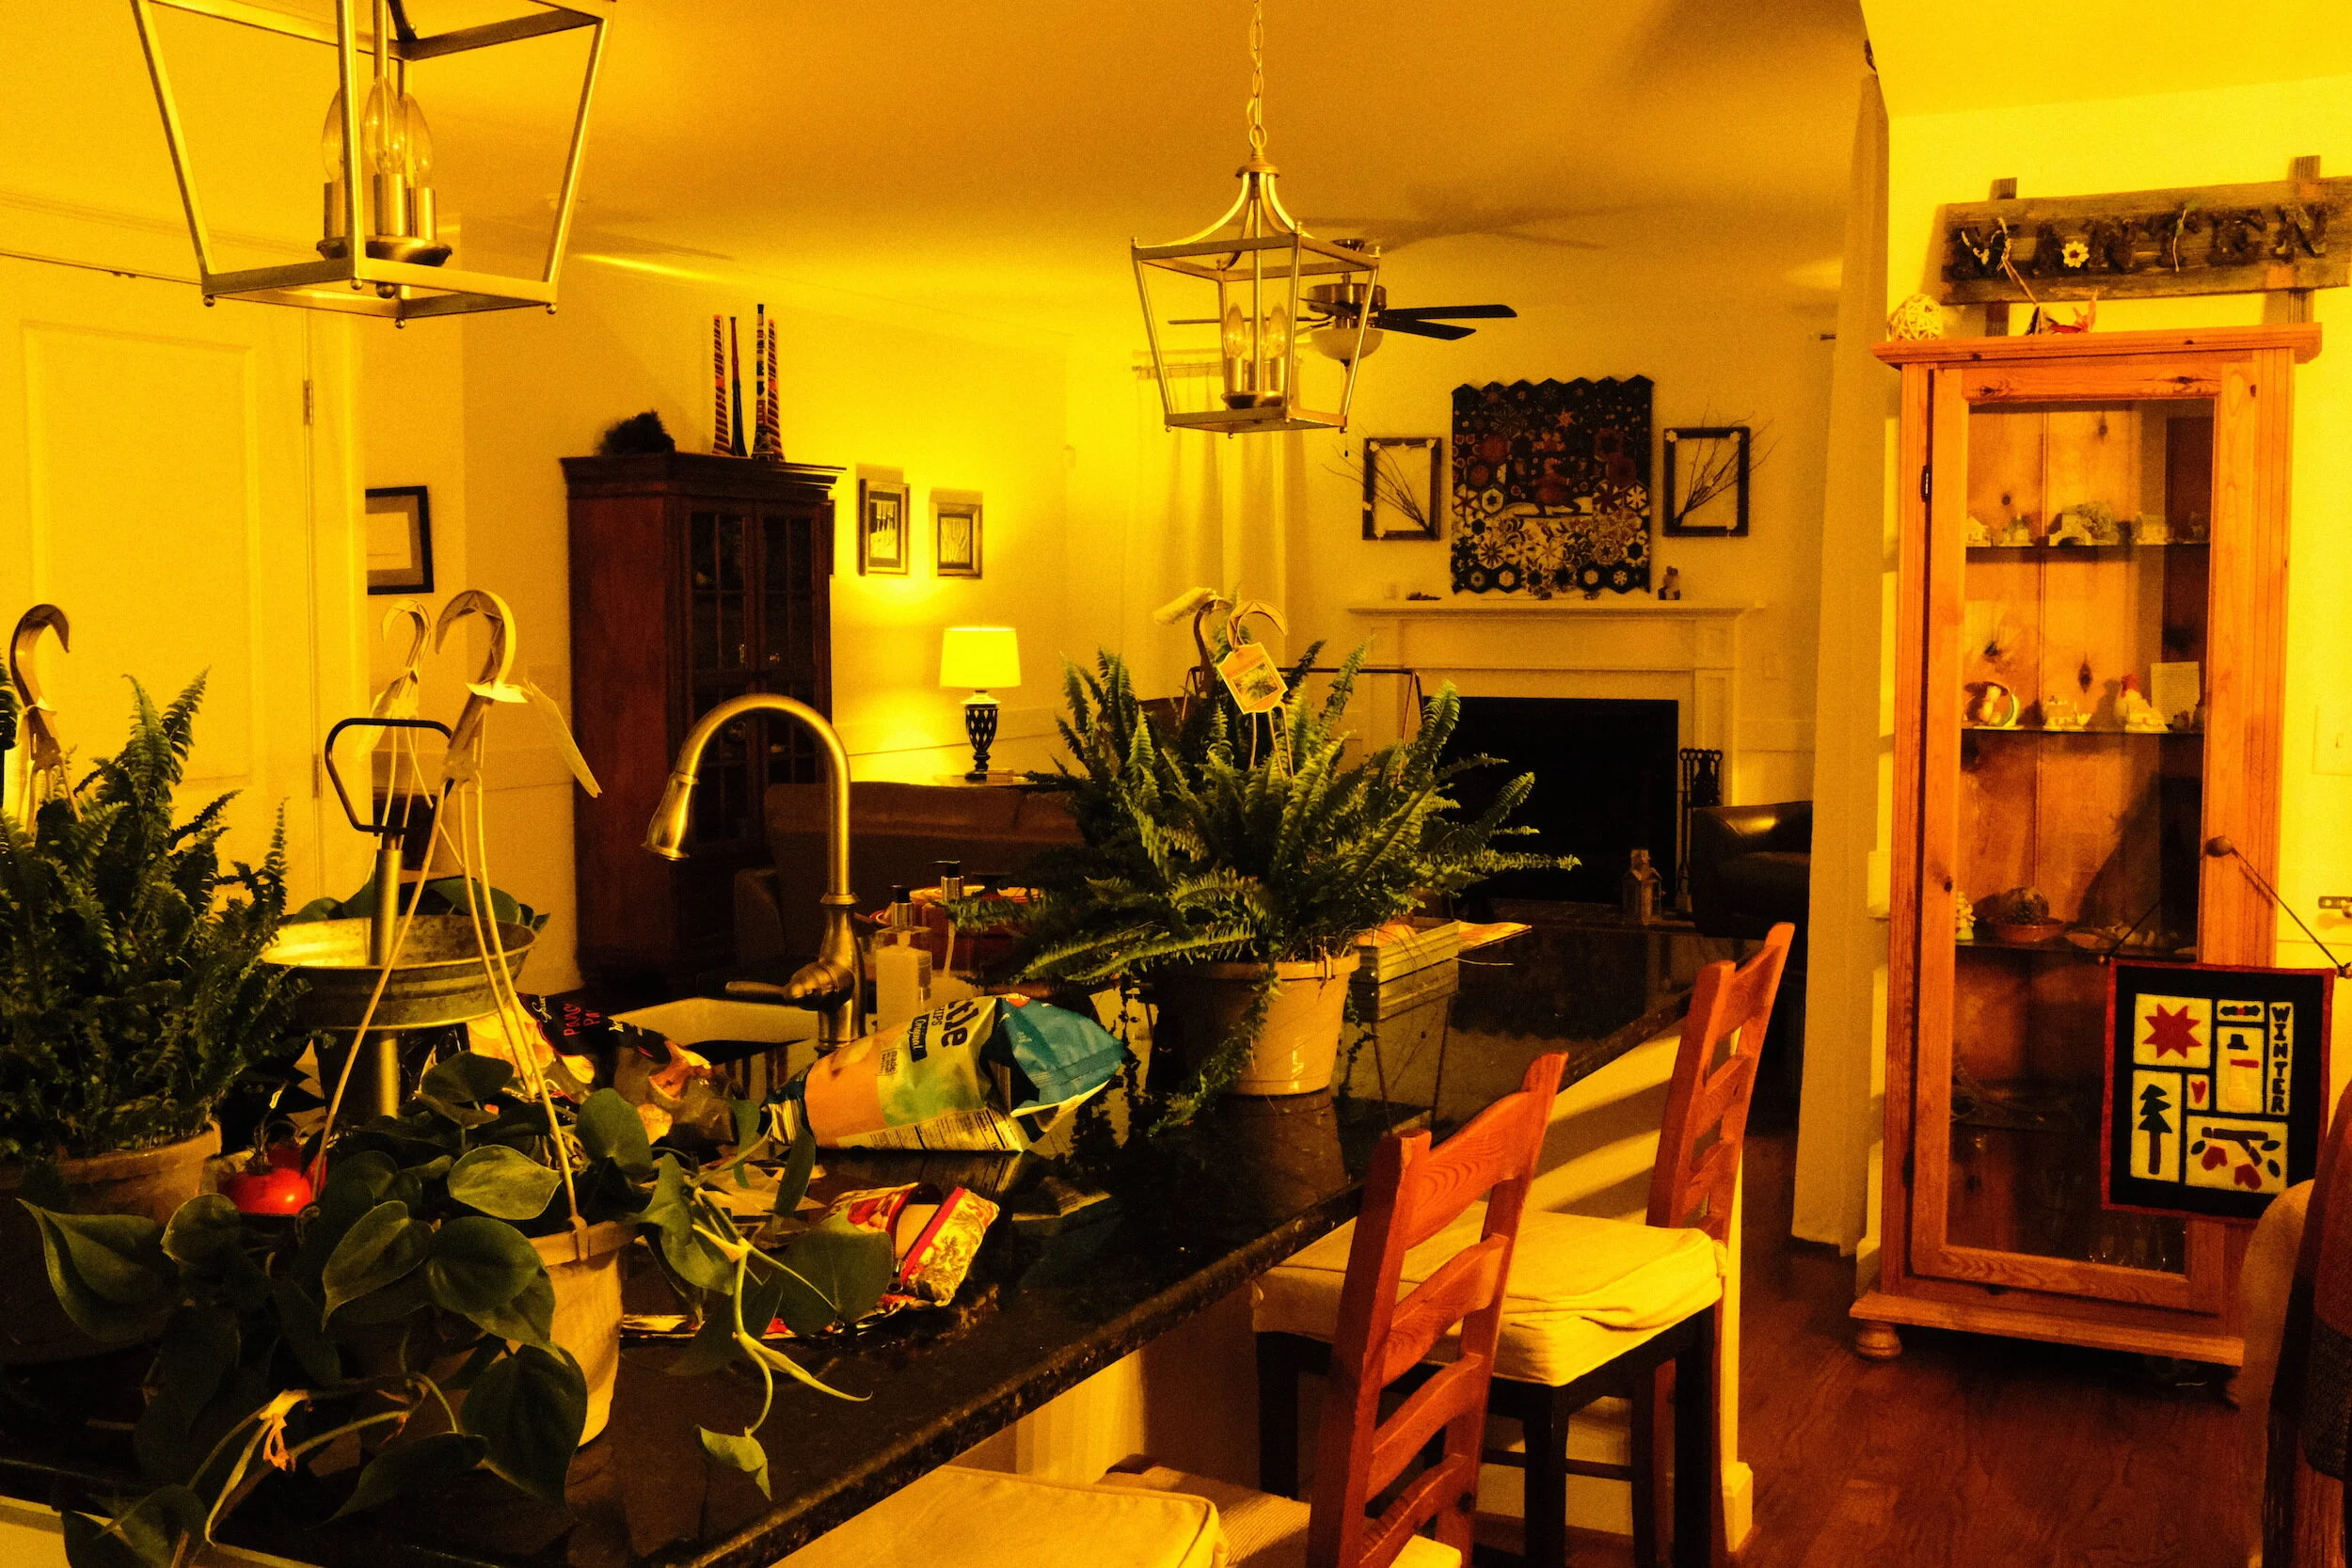
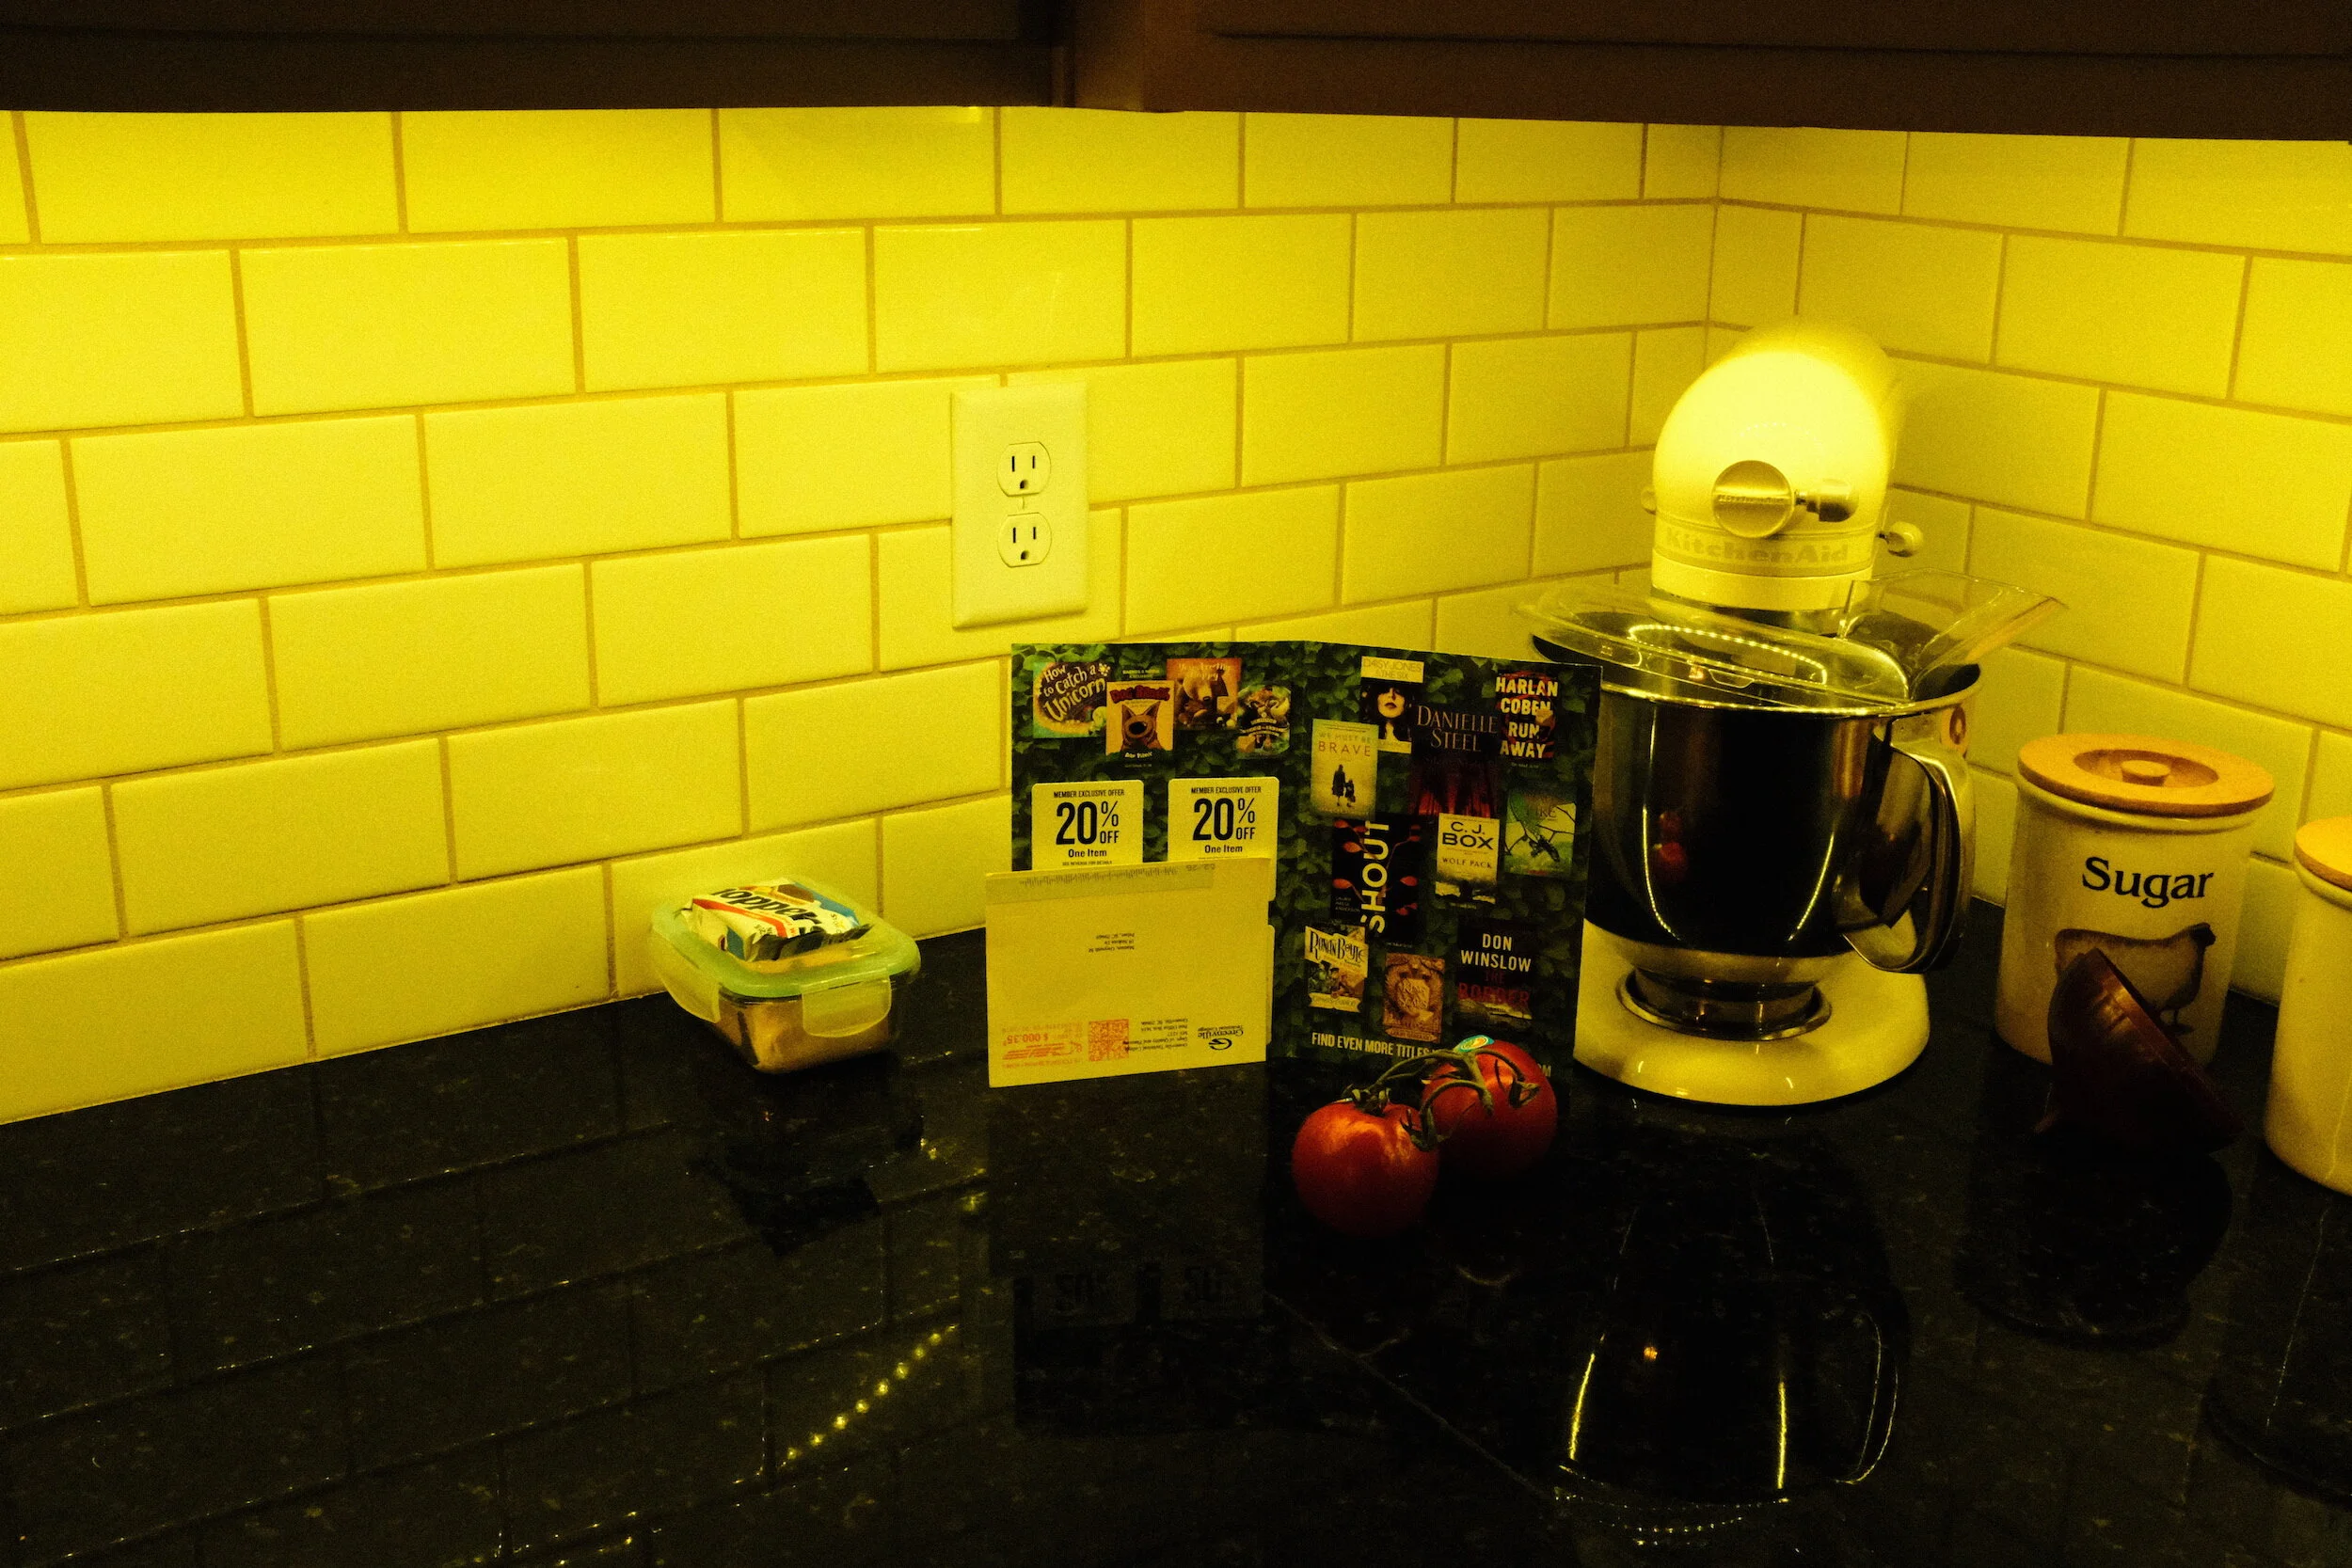
This is a great film simulation for evening images, producing very natural colors. The origins of the film as a cinematic emulsion are clearly visible.
The last image of the series below actually emphasizes the need to 'think about what you are doing'. While I was enthusiastically taking test shots with this setting I totally forgot that CineStill800T has been developed to capture images lighted by Tungsten light (hence the "T" in the name). To adjust for the warm color of 3200K incandescent light, the film (and the simulation settings in the X100F) add a blue-ish shine to the image. Ideal for interior and exterior images that are being lighted with this type of light, not so much for daylight images.
ClassicChrome
Classy naturals.
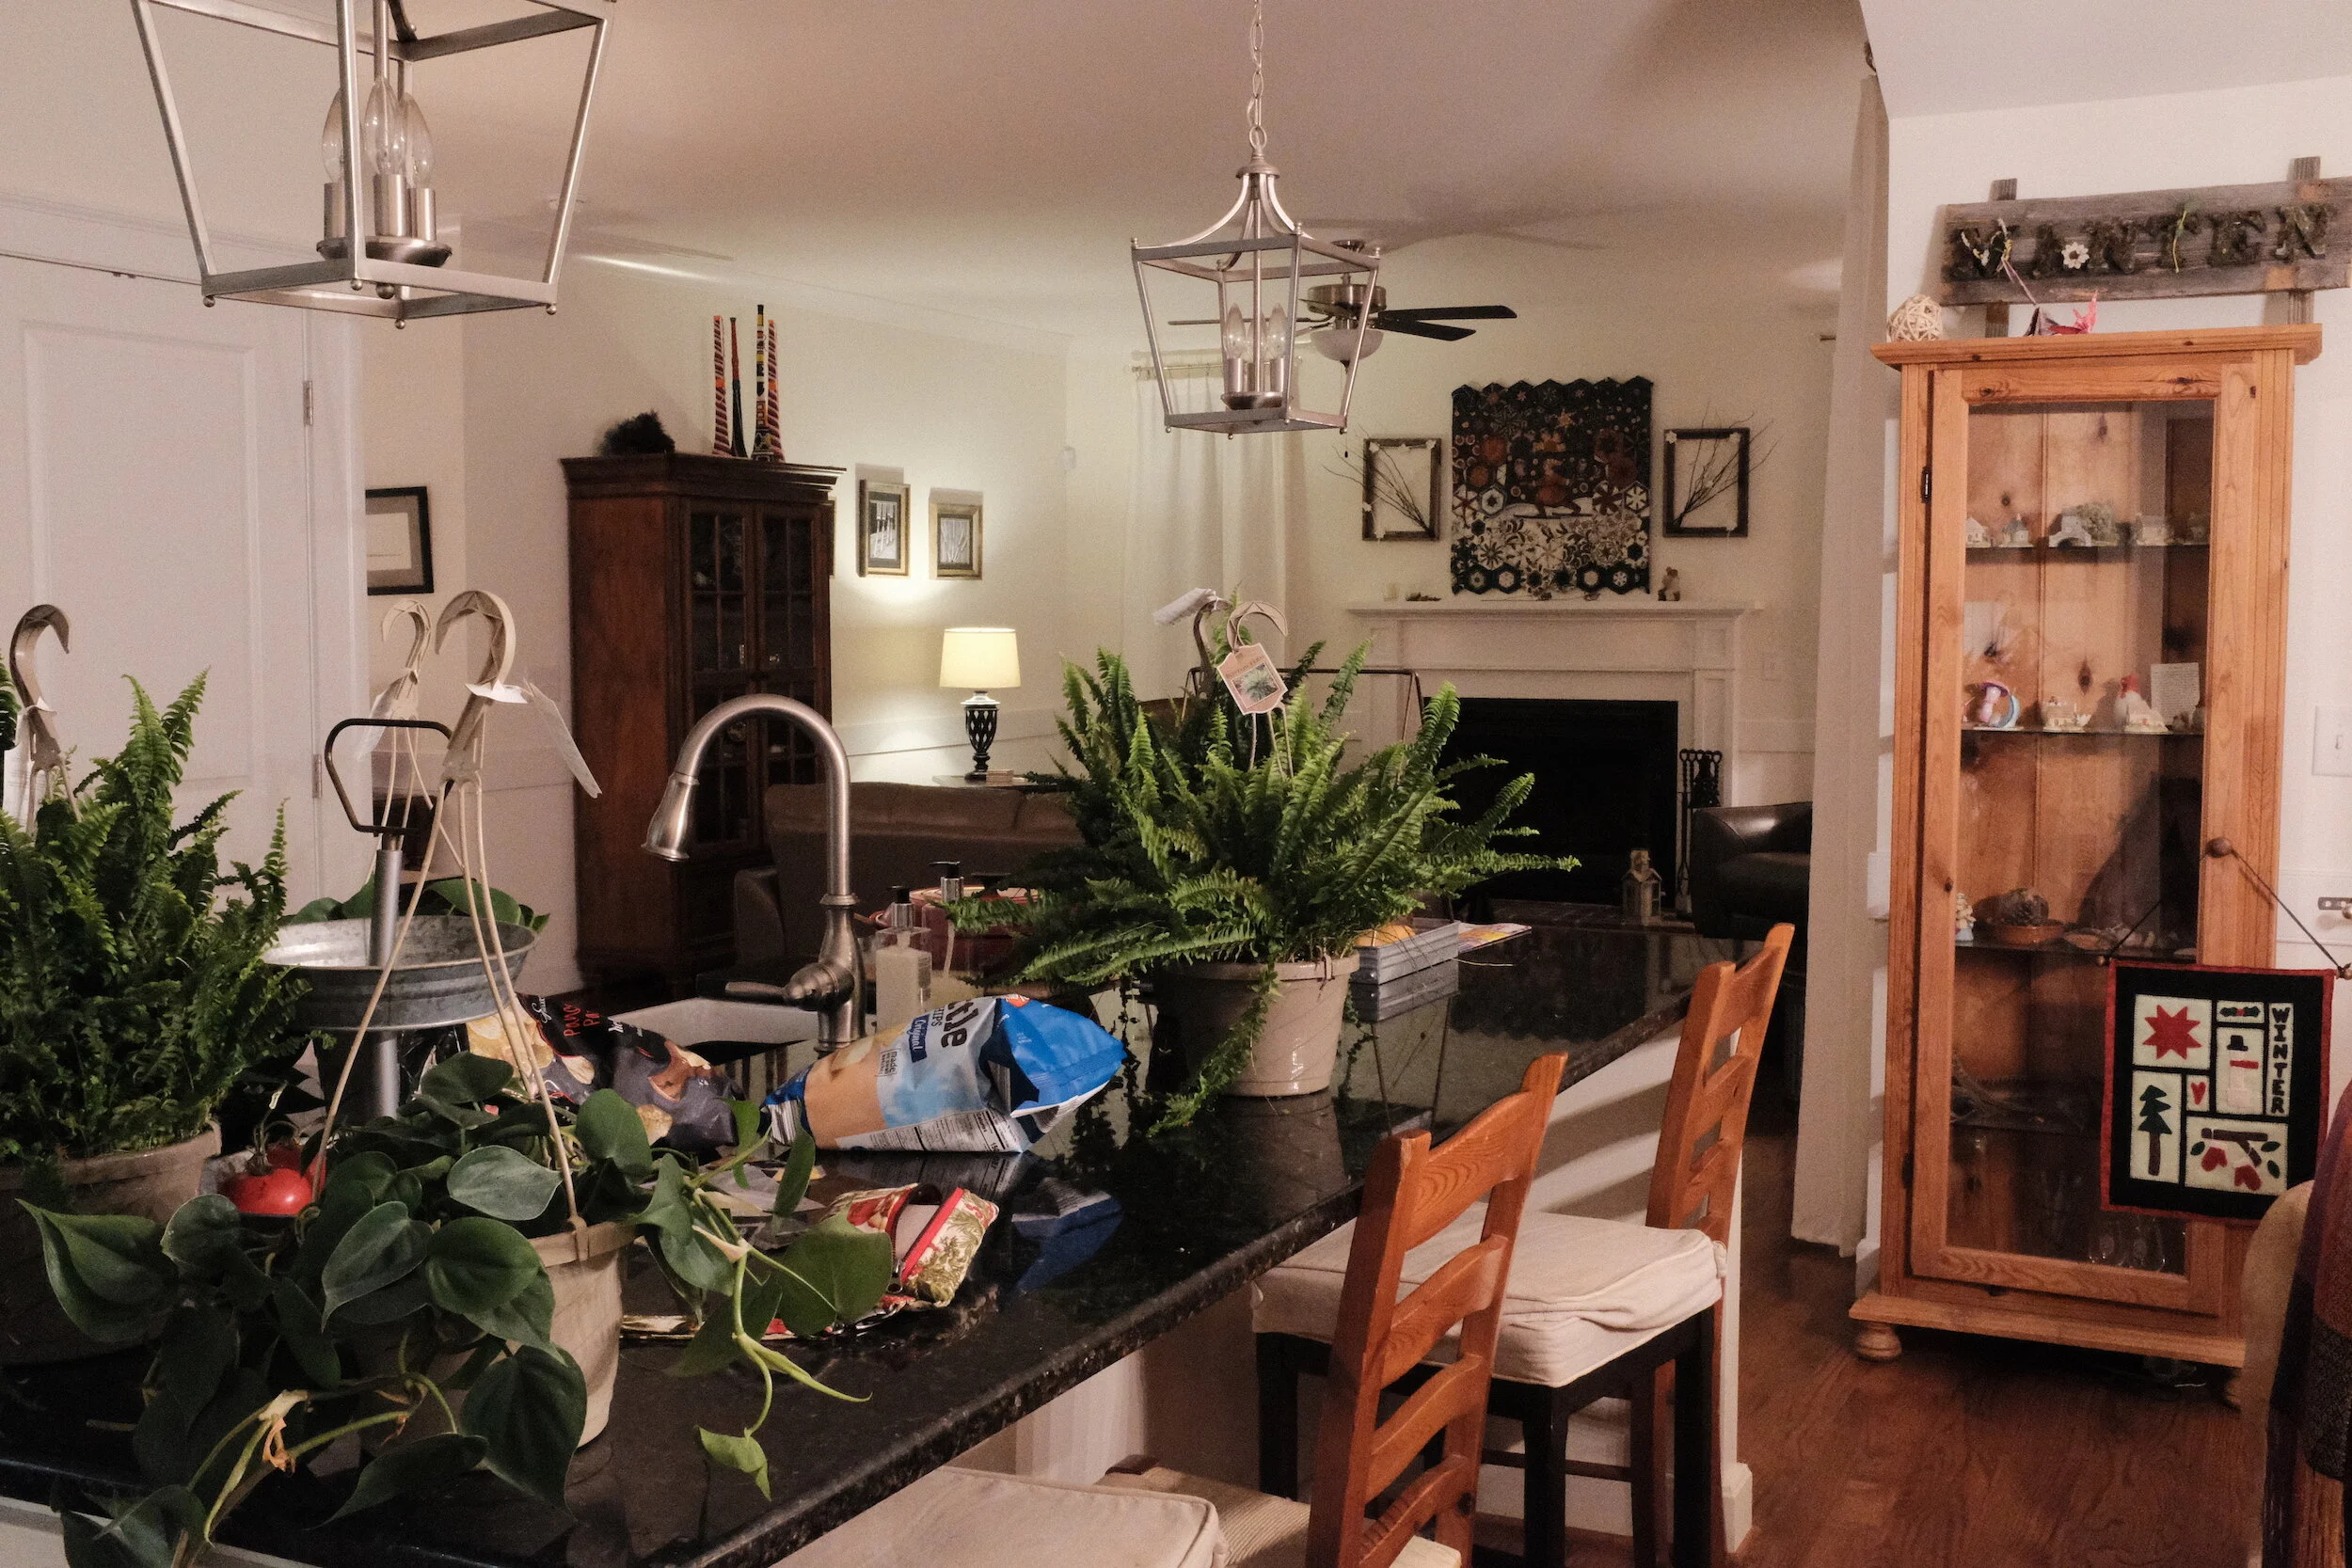
Also a setting that produces very natural colors. Without becoming too 'warm' for incandescent light photography.
Agfa Color
Some old fashioned German color engineering.
Agfa produces a very warm color with incandescent light. Surprisingly the colors with daylight outside turned out to be cooler than the image taken with the Classic Chrome setting. The results with the Agfa setting are very much as I remember them: my very first camera was an Agfa Iso Rapid Ic, which only used Agfa Color film in specific spool cans.
Kodachrome
"Mama, don't take my Kodachrome away"?
Maybe not. This film simulation created very warm images under incandescent light. Outside it was more to my liking.
Velvia
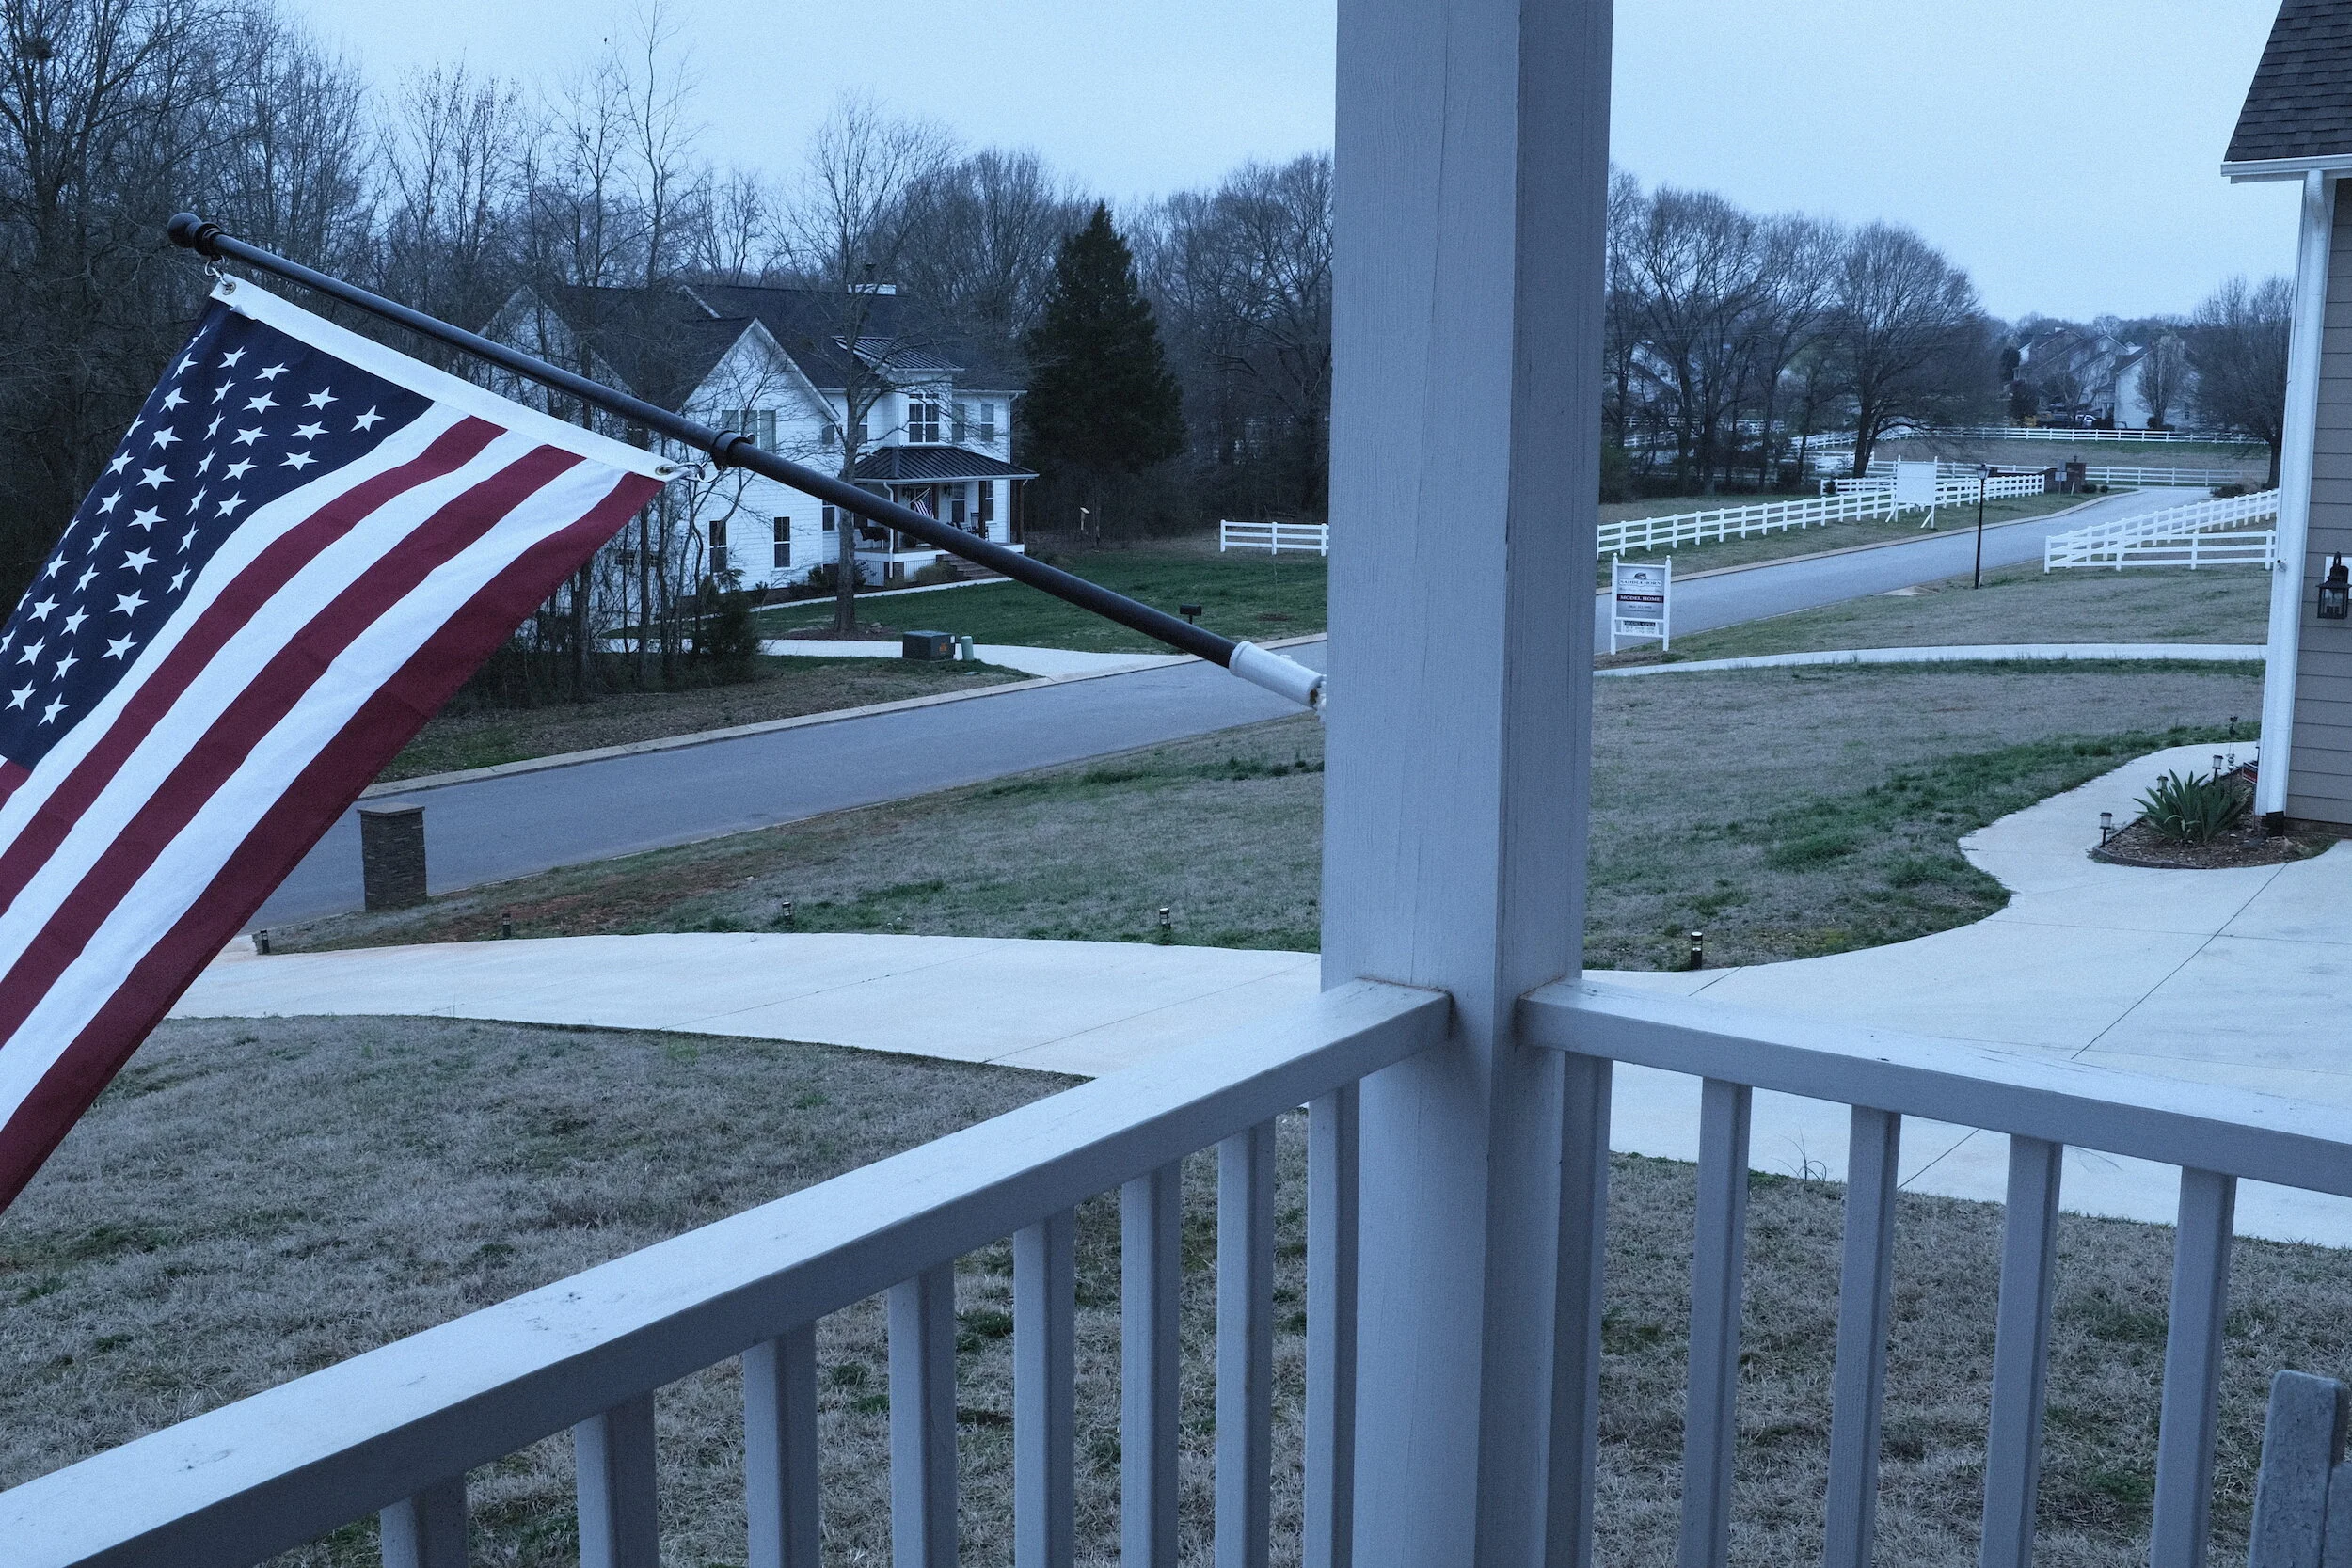
Velvia! Who does not love Velvia?!
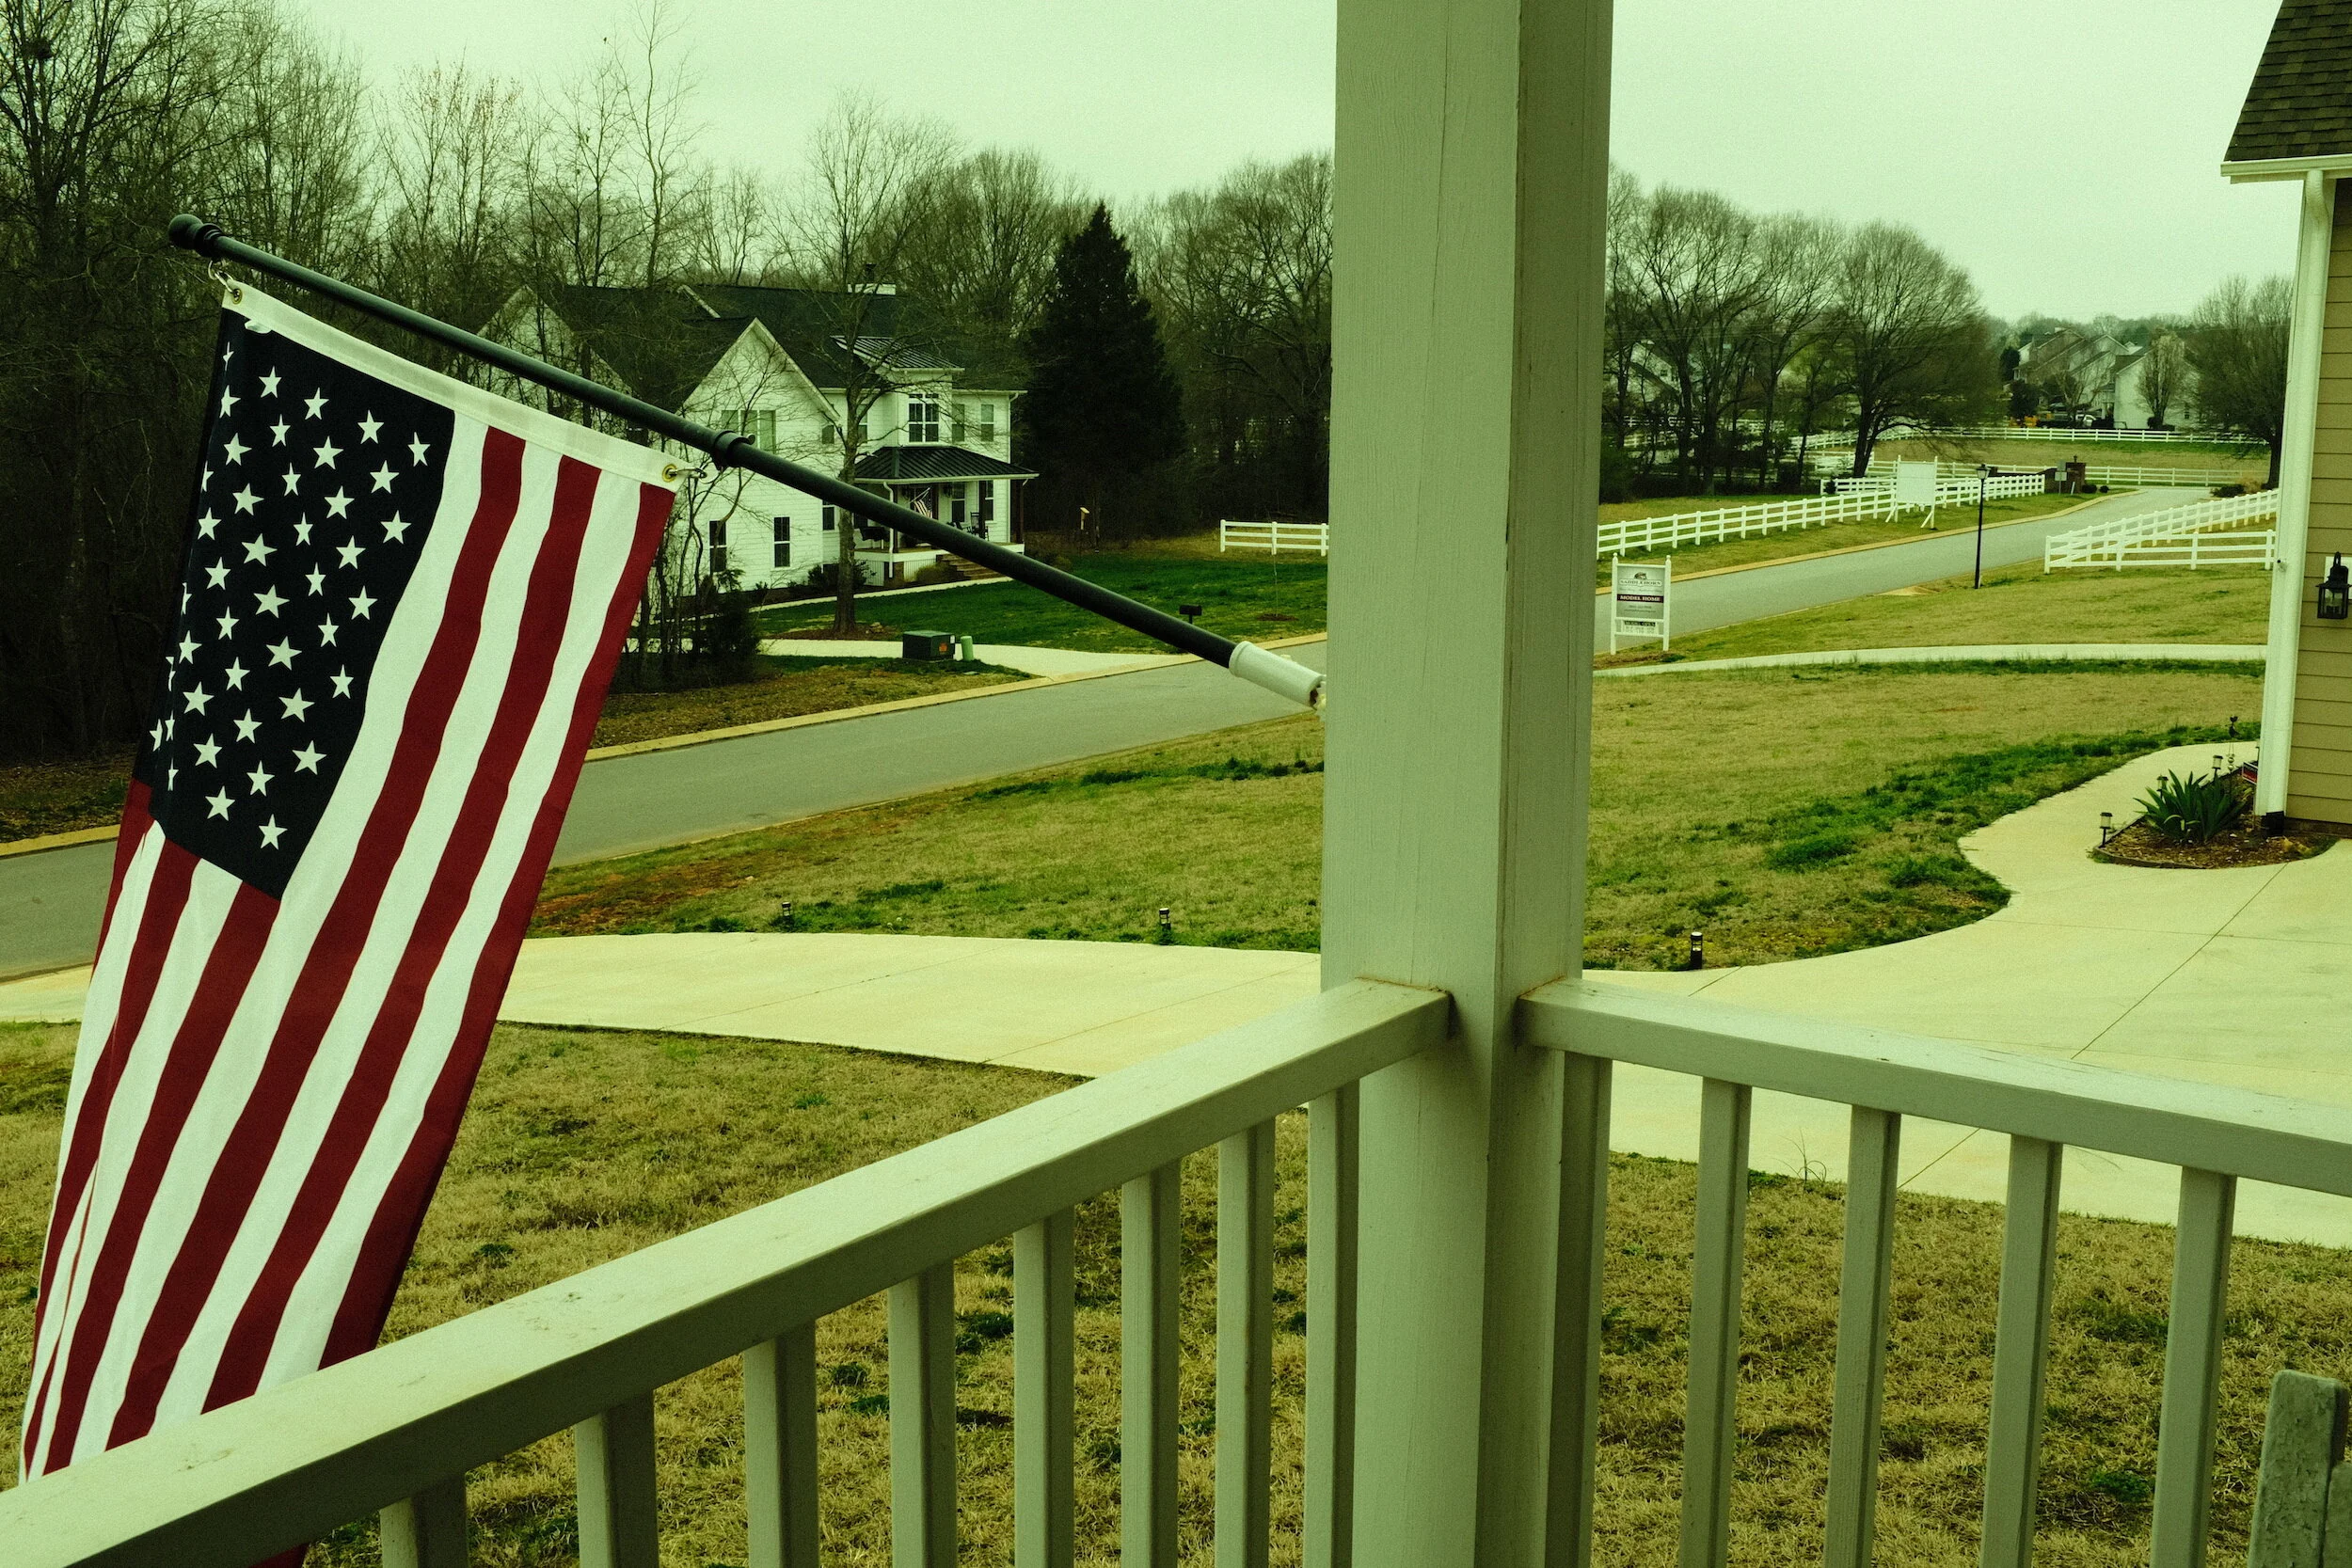
I like how this film simulation produces strong and bold colors in the primary colors and greens while creating quite a natural look for the backgrounds, like the walls and the tiles in the interior images and the wood and street in the exterior image. Don't you like how the red in the flag pops?!
Cross Process
Okay, I had to try it.
Not really my cup of tea, but if you are looking for this kind effect it actually produces a very good cross-process simulation.
What I learned from using presets
To be honest: I did not really use the built-in Advanced Filters.
Although they are fun to use they do not provide me with the photographic style I want to create. Having said this, however, I think they are well developed and probably are very helpful tools for photographers who are aiming at the special effects these filters can achieve.
Using the film simulation presets in the X100F, on the other hand, made me appreciate what can be done in-camera, and re-discovering the merits of color film simulation.
I maintain that you should not just use presets without knowing how they actually change the image. To start with, therefore, I used the built-in film simulation presents the Fujifilm X100F provides. But I did not use them as provided by Fuji. I used the tweaked versions developed by Ritchie Roesch. And even before using these versions, I studied what he did, what the effect on the image is, if this is the effect I want. And eventually I tweaked his tweaks a bit more to get specific results I like.
My experiments with the CineStill800T simulation also drove home again that you always need to think and consider what you are doing. This might be considered a subset of not just using presets without knowing what they do, but I think is worthwhile mentioning separately.
In summary, the main things I learned from using film simulation settings were:
Understanding how these settings impact the RAW file and produce the straight out of camera JPEGs
Understanding how other camera settings (e.g. the use of exposure compensation) impact these film simulation settings and the final JPEGs
Understanding how to tweak or built my own film simulation settings
Film Simulations - Lightbulb Moment!
I am not a big fan of pre-set film simulations or any other presets for that matter. But looking at the SOOC jpegs from the Fujifilm X100F made me suddenly realize that any rendering of a digital image is, in fact, a simulation of a film image.
To look at a digital image - whether on a screen or printed (digital images also definitely need to be printed!) - the digital information needs to be converted from its digital existence into something the human eye can actually see. For us to see the images made by digital cameras, electronic information needs to be converted into pixels (pixels per inch, or ppi) and/or dots (dots per inch, or dpi).
To be able do this, the software that reads and translates the electronic image will have to be “told” how to make that translation. All photo software has this information already built-in. So basically we already start looking at the image using the specific software’s preset. Irrespective of whether we make any other changes to the image by using additional presets, or by making specific changes using the software: we always start looking at an image using a preset.
Each software has its own proprietary set of development presets. That is why some photographers only want to use Adobe software, while others only want to use non-Adobe software like ON1, Capture One, or Silkypix. Each of these programs renders the initial image just a bit different, based on the parameters programmed into the software.
Now consider for a moment the reference framework that the software programmers use when developing these parameters? How did they know how a photo should look like? What else could there be than existing film emulsions and analog printed photographs?
This struck me like a lightning bolt.
Are not then all digital images that are prepared for screen or printing... simulations of film?
The question then is justified why using additional presets or changes would be ‘wrong’…
The main message, therefore, continuous to be: using presets is great, but don’t just blindly use them; know what you are doing
How am I going to use presets going forward
I don't think I will use any of the built-in Advanced Filters as part of my regular workflow.
I definitely will continue to use some of the Film Simulations; Especially the Acros, CineStill800T, ClassicChrome, and Kodachrome simulations as mentioned above.
The quality and size of the JPEGs are great: they have the same 6000 x 4000 size as the compressed RAW files. I, therefore, will continue to use the SOOC JPEGs, for publication on this website, and even printing.
During my experimentation with the film simulations, I have learned that pre-envisioning how the final image should look is even more important than I thought. The question "what do I want to achieve with this image" needs to be answered prior to selecting a specific film simulation (or post-processing actions).
I fell in love with the Acros simulation, and going forward it will probably be my standard-go-to-setting.
Conclusions and recommendations
Film simulations and in-camera presets are great tools for achieving the look and feel you want to create with your images.
But even more important, they are great starting points to learn from: prior to just use in-camera presets or film simulation presets developed by others, I recommend to study the effects of these presets and learn and understand what these actually do to the original RAW file. This will not only help you to better achieve your creative goals, but it also will help you to tweak existing presets or develop your own.
This basically is similar to what I recommend regarding Lightroom (or other image tools) presets.
Once you get a good understanding of how presets work and what they do to your images, they are great tools to use and also will add a lot of fun to your photography.

